
My Garage
My Account
Cart
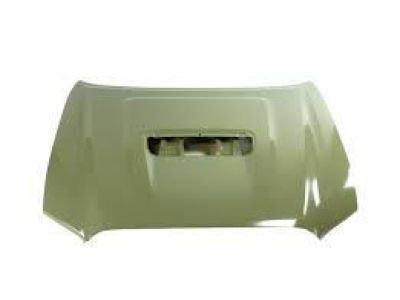
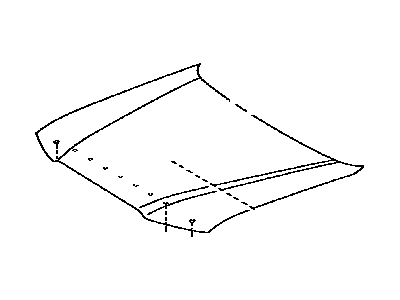
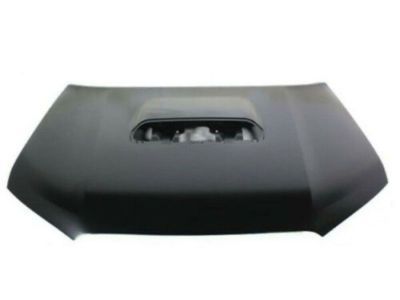
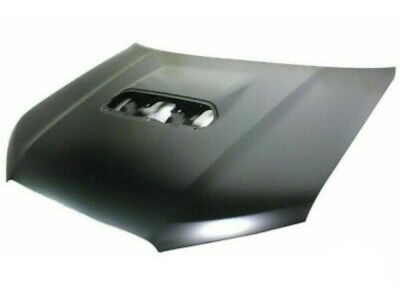
Genuine Toyota Hood
Engine Hood- Select Vehicle by Model
- Select Vehicle by VIN
Select Vehicle by Model
orMake
Model
Year
Select Vehicle by VIN
For the most accurate results, select vehicle by your VIN (Vehicle Identification Number).
252 Hoods found
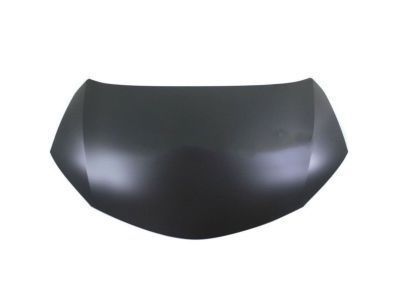
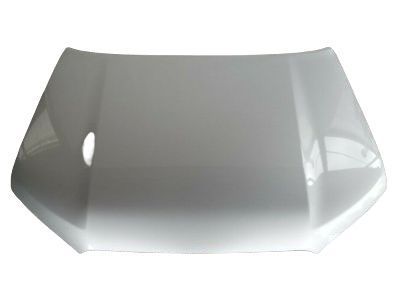
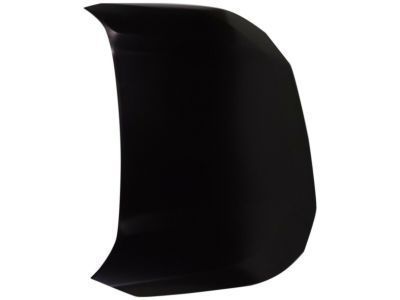
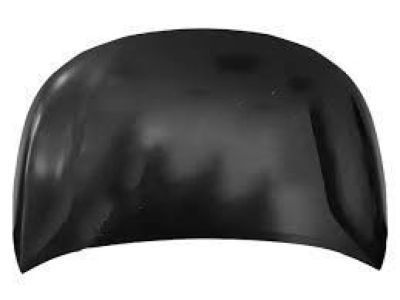
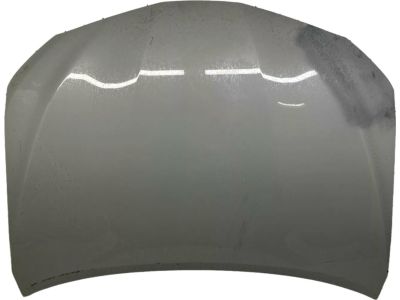
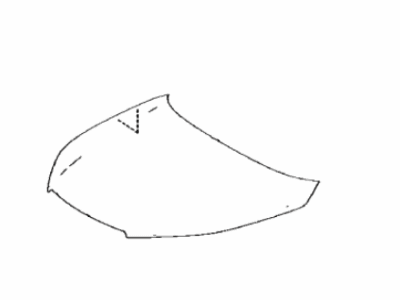
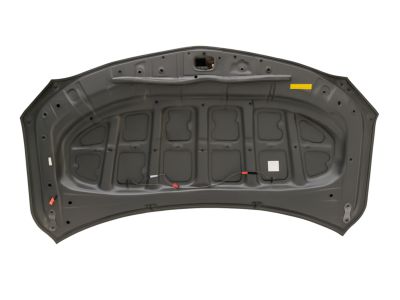
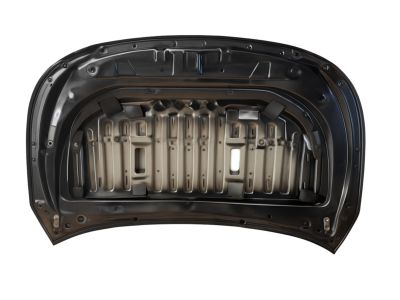
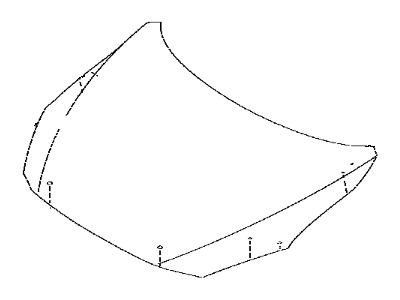
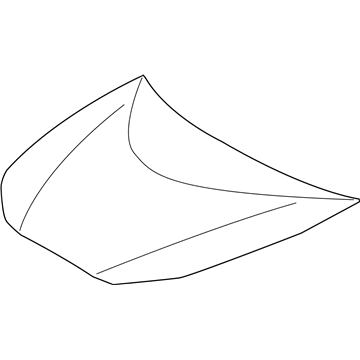
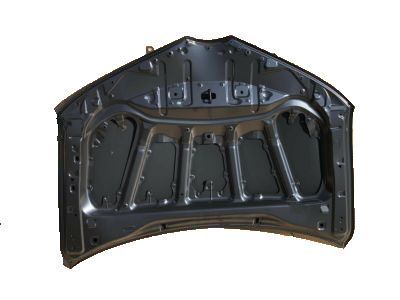
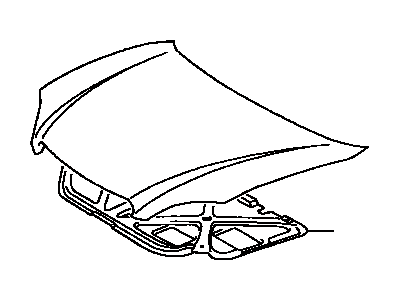
Toyota Hood Sub-Assembly
Part Number: 53301-02270$280.82 MSRP: $402.69You Save: $121.87 (31%)Ships in 1-3 Business DaysProduct Specifications- Other Name: Hood Sub-Assy; Hood
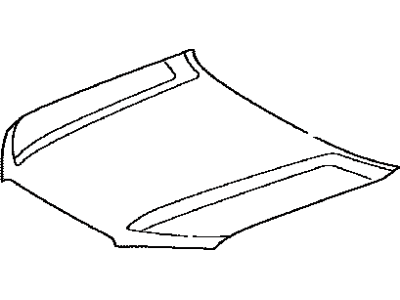
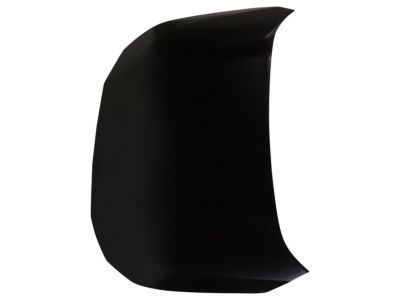
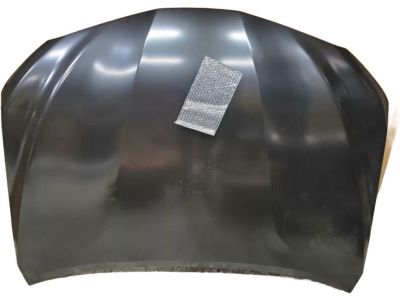
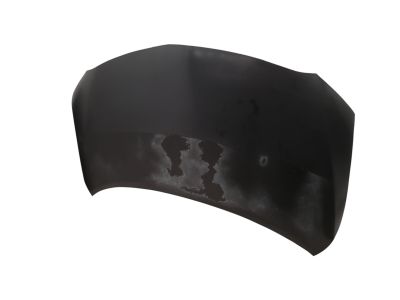
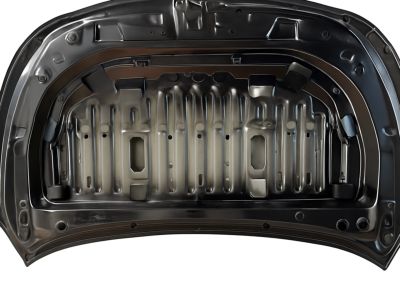
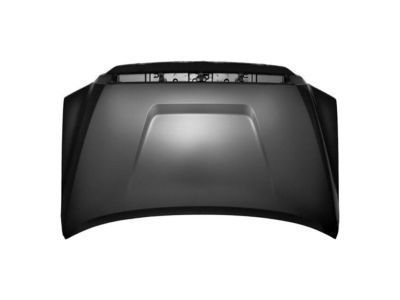
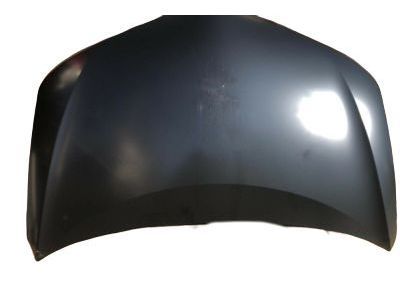
Toyota Hood Sub-Assembly
Part Number: 53301-35200$366.15 MSRP: $546.23You Save: $180.08 (33%)Ships in 1-3 Business DaysProduct Specifications- Other Name: Hood Sub-Assy; Hood
- Replaces: 53301-35220
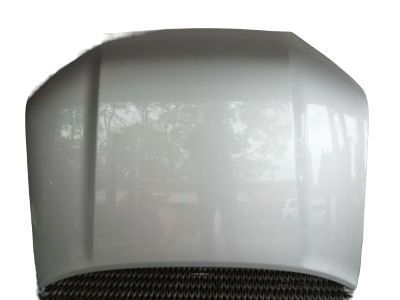
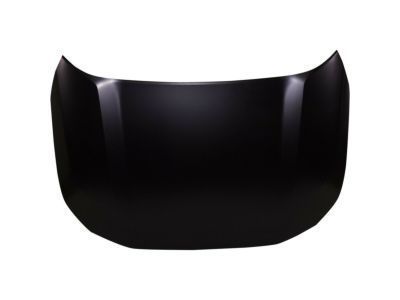
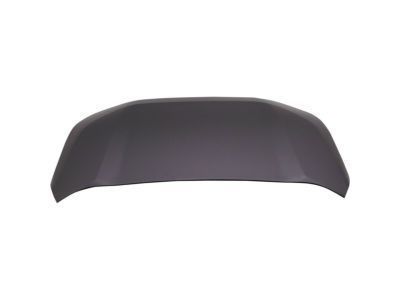
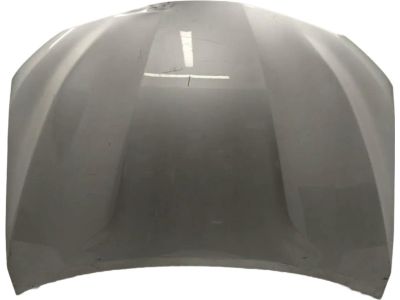
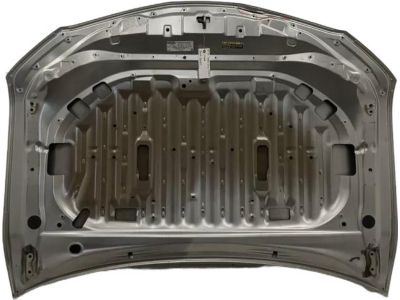
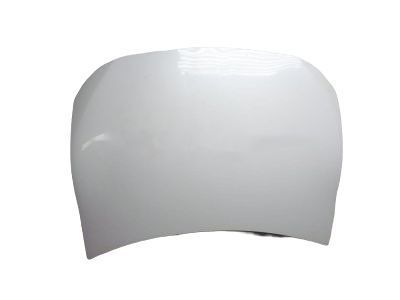
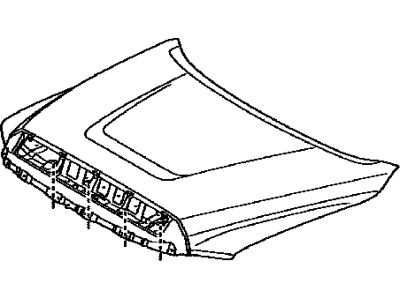
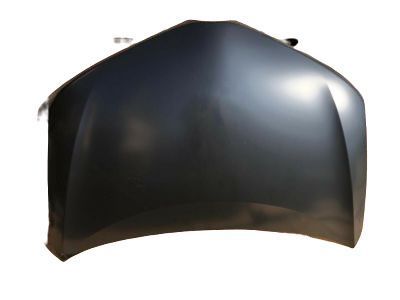
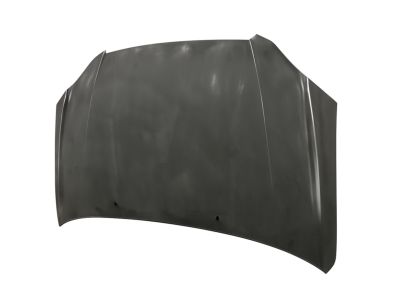
Toyota Hood Sub-Assembly
Part Number: 53301-0R080$418.89 MSRP: $624.91You Save: $206.02 (33%)Ships in 1-3 Business DaysProduct Specifications- Other Name: Hood Sub-Assy; Hood
- Replaces: 53301-42150
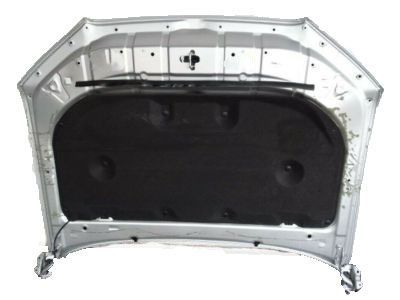
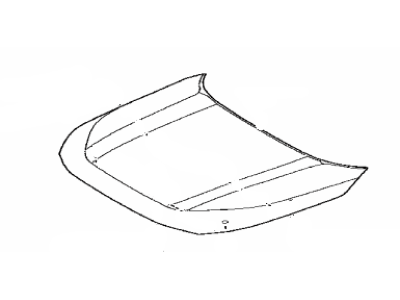
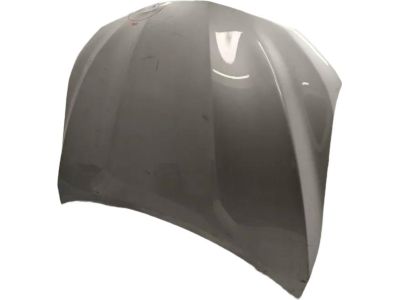
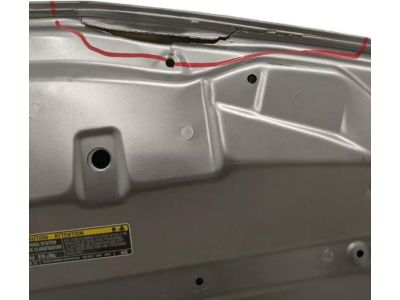
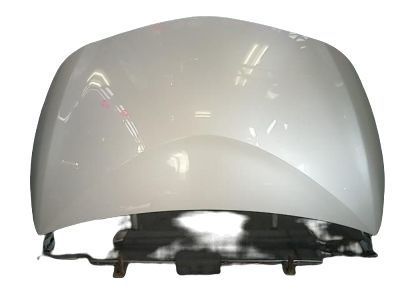
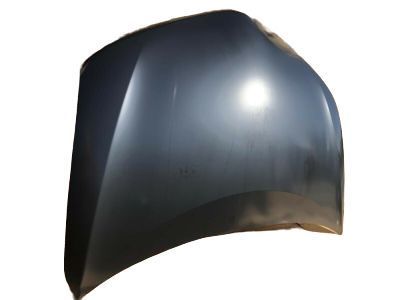
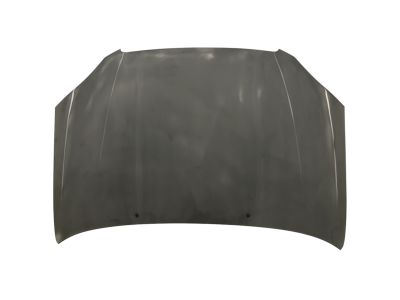
Toyota Hood Sub Assembly
Part Number: 53301-04230$389.46 MSRP: $581.00You Save: $191.54 (33%)Ships in 1-3 Business DaysProduct Specifications- Other Name: Hood
Toyota Hood Sub-Assembly
Part Number: 53301-35210$352.77 MSRP: $526.27You Save: $173.50 (33%)Ships in 1-2 Business DaysProduct Specifications- Other Name: Hood Sub-Assy; Hood
- Replaces: 53301-35230
Toyota Hood Sub-Assembly
Part Number: 53301-02480$295.67 MSRP: $423.98You Save: $128.31 (31%)Ships in 1-2 Business DaysProduct Specifications- Other Name: Hood Sub-Assy; Hood
- Replaces: 53301-12B70
- Product Specifications
- Other Name: Hood Sub-Assy; Hood
- Replaces: 53301-33220, 53301-06330
Toyota Hood Sub-Assembly
Part Number: 53301-47110$244.63 MSRP: $350.78You Save: $106.15 (31%)Ships in 1-3 Business DaysProduct Specifications- Other Name: Hood Sub-Assy; Hood
Toyota Hood Sub-Assembly
Part Number: 53301-06160$389.46 MSRP: $581.00You Save: $191.54 (33%)Ships in 1-3 Business DaysProduct Specifications- Other Name: Hood Sub-Assy; Hood
Toyota Hood Sub-Assembly
Part Number: 53301-04200$363.81 MSRP: $542.74You Save: $178.93 (33%)Ships in 1-3 Business DaysProduct Specifications- Other Name: Hood Sub-Assy; Hood
Toyota Hood Sub-Assembly
Part Number: 53301-0E110$409.42 MSRP: $610.76You Save: $201.34 (33%)Ships in 1-3 Business DaysProduct Specifications- Other Name: Hood Sub-Assy; Hood
- Replaces: 53301-0E120
Toyota Hood Sub-Assembly
Part Number: 53301-02210$282.91 MSRP: $405.68You Save: $122.77 (31%)Ships in 1-3 Business DaysProduct Specifications- Other Name: Hood Sub-Assy; Hood
Toyota Hood Sub-Assembly
Part Number: SU003-01394$455.20 MSRP: $631.53You Save: $176.33 (28%)Ships in 1-3 Business DaysProduct Specifications- Other Name: Hood Compl F Rpr ; Hood Sub-Assembly; Hood
Toyota Hood Sub-Assembly
Part Number: 53301-0E170$484.34 MSRP: $722.54You Save: $238.20 (33%)Ships in 1-3 Business DaysProduct Specifications- Other Name: Hood Sub-Assy; Hood
Toyota Hood Sub-Assembly
Part Number: 53301-WB002$341.88 MSRP: $490.23You Save: $148.35 (31%)Ships in 1-3 Business DaysProduct Specifications- Other Name: Hood Sub-Assy; Hood
- Manufacturer Note: WITH(R-DOT LABEL)
- Product Specifications
- Other Name: Hood Sub-Assy; Hood
Toyota Hood Sub-Assembly
Part Number: 53301-47120$322.47 MSRP: $462.40You Save: $139.93 (31%)Ships in 1-3 Business DaysProduct Specifications- Other Name: Hood Sub-Assy; Hood
Toyota Hood Sub-Assembly
Part Number: 53301-12B40$244.63 MSRP: $350.78You Save: $106.15 (31%)Ships in 1-3 Business DaysProduct Specifications- Other Name: Hood Sub-Assy; Hood
- Replaces: 53301-12B10
Toyota Hood Sub-Assembly
Part Number: 53301-02110$285.12 MSRP: $408.83You Save: $123.71 (31%)Ships in 1-3 Business DaysProduct Specifications- Other Name: Hood Sub-Assy; Hood
- Replaces: 53301-1A030
Toyota Hood Panel
Part Number: 53301-12B90$341.74 MSRP: $509.80You Save: $168.06 (33%)Ships in 1-2 Business DaysProduct Specifications- Other Name: HOOD SUB-ASSY; Hood
- Manufacturer Note: HIGH GRADE PACKAGE
| Page 1 of 13 |Next >
1-20 of 252 Results
Toyota Hood Parts Questions & Experts Answers
- Q: What are the step-by-step instructions for removing and installing hood on 1997 through 2001 Toyota Avalon?A:Keep the car running while you put soft material between the hood and the front wheels and bodywork to prevent damage to paint and structure. Kill the power to your car. Unplug and route out the wires running to the hood and windshield washer setup. Mark where the hood hinge moves so you can put the hood back exactly how you found it. Your helper will hold up the hood, while you pry out the clips from the strut holders at the top. Twist off both bolts from the hinge and lift the hood off. Use the earlier marks to line up your hinge bolts when putting back your hood. Open up the hinge plate slot, and then loosen bolts or nuts; note the hinge plate's movement using marks. Set the bolts free, adjust the hood until it's straight, and then tighten the bolts on the hinges. Make sure everything looks right by dropping the hood slowly. Move the entire latch assembly back and forth on the radiator support until it fits perfectly with the car's fenders, taking care to mark the big bolt locations first, so you can reposition the bolts easily and tighten them again. End by applying white, lithium grease to the hood latch assembly and hinge points, making sure the hood stays straight along the fenders.
- Q: How to remove and install the hood on 2002 through 2008 Toyota Solara?A:The hood is somewhat awkward to remove and install, so at least two people should perform this procedure. To begin, open the hood and place blankets or pads over the fenders and cowl area to protect the body and paint during the lift. Disconnect any cables or wires that may interfere with removal, including the windshield washer tubing from the nozzles on the hood. Make marks around the hood hinge to ensure proper alignment during reinstallation. Have an assistant support the weight of the hood while detaching the support struts by prying out the clips at the top. Remove the hinge-to-hood bolts and lift off the hood. For installation, align the hinge bolts with the previously made marks. Fore-and-aft and side-to-side adjustments of the hood can be made by moving the hinge plate slot after loosening the bolts or nuts; however, factory bolts are "centering" type and must be replaced with standard bolts with flat washers and lock washers for adjustment. Mark around the entire hinge plate to determine the amount of movement, then loosen the bolts and adjust the hood into the correct alignment, tightening the hinge bolts afterward. If necessary, the entire hood latch assembly can be adjusted up-and-down and side-to-side on the radiator support to ensure the hood closes securely and flush with the fenders. Scribe a line or mark around the hood latch mounting bolts for reference, loosen them, and reposition the latch assembly as needed, remembering to remove two clips and a plastic latch cover for access to the lower bolt. Finally, adjust the hood bumpers on the radiator support so that the hood is flush with the fenders when closed, turning each edge cushion clockwise to lower or counterclockwise to raise the hood. Periodically lubricate the hood latch assembly and hinges with white, lithium-base grease to prevent binding and wear.
- Q: How to remove and install the hood on 2005 through 2009 Toyota Tacoma?A:The hood is somewhat awkward to remove and install, so at least two people should perform this procedure. To begin, open the hood and place blankets or pads over the fenders and cowl area to protect the body and paint during the lift. Disconnect any cables or wires that may interfere with removal, including the windshield washer tubing near the right-side hinge. Mark the hood in relation to the hinges to ensure proper alignment during reinstallation by drawing alignment marks around the hinge plates. With an assistant supporting one side of the hood, take turns removing the hinge-to-hood bolts and lift off the hood, supporting it with your shoulder while removing the mounting bolts. For installation, align the hood using the previously made marks. For adjustment, replace the hinge and latch factory mounting bolts with regular bolts of the same grade and washers. Fore-and-aft and side-to-side adjustments can be made by moving the hood in relation to the hinge plate slots while the bolts are loose. Mark the hood around the hinge plates to determine the amount of movement, then loosen the bolts and adjust the hood into the correct alignment, tightening the hinge bolts afterward. Carefully lower the hood to check its position, ensuring uniform gaps between each fender. If necessary, the entire hood latch assembly can be adjusted up-and-down and side-to-side to ensure the hood closes securely and is relatively flush with the fenders. Remove the radiator grill and the hood latch cover, marking the relationship of the hood latch to the radiator support before loosening the mounting bolts to reposition the latch assembly as needed. After adjustment, retighten the mounting bolts. Finally, adjust the hood cushions so that when closed, the hood is flush with the fenders by rotating the cushions to achieve the desired height. Periodically lubricate the hood latch assembly and hinges with white, lithium-base grease to prevent binding and wear, and complete the installation in reverse order of removal.
Related Toyota Parts
Browse by Model
4Runner Hood 86 Hood Avalon Hood C-HR Hood Camry Hood Celica Hood Corolla Cross Hood Corolla Hood Corolla iM Hood Corona Hood Cressida Hood Crown Hood Echo Hood FJ Cruiser Hood GR Corolla Hood GR Supra Hood GR86 Hood Grand Highlander Hood Highlander Hood Land Cruiser Hood MR2 Hood MR2 Spyder Hood Matrix Hood Mirai Hood Paseo Hood Pickup Hood Previa Hood Prius AWD-e Hood Prius C Hood Prius Hood Prius Prime Hood Prius V Hood RAV4 Hood RAV4 Prime Hood Sequoia Hood Sienna Hood Solara Hood Starlet Hood Supra Hood T100 Hood Tacoma Hood Tercel Hood Tundra Hood Venza Hood Yaris Hood Yaris iA Hood bZ4X Hood
