
My Garage
My Account
Cart
Genuine Toyota Rack And Pinion
Steering Rack And Pinion- Select Vehicle by Model
- Select Vehicle by VIN
Select Vehicle by Model
orMake
Model
Year
Select Vehicle by VIN
For the most accurate results, select vehicle by your VIN (Vehicle Identification Number).
512 Rack And Pinions found
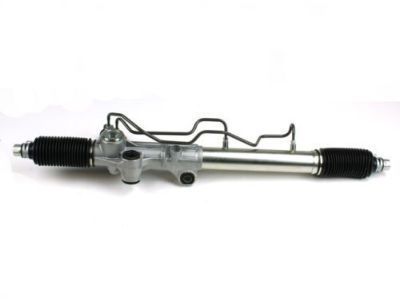
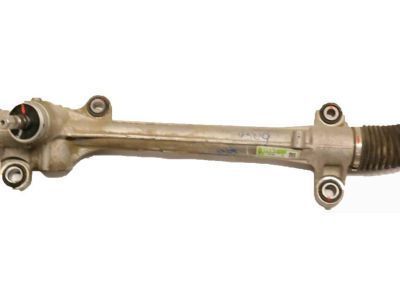
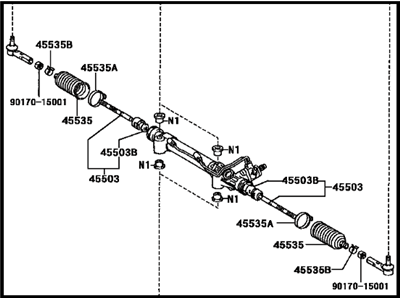
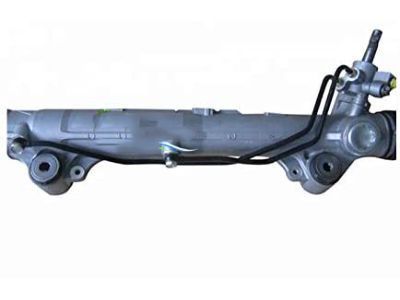
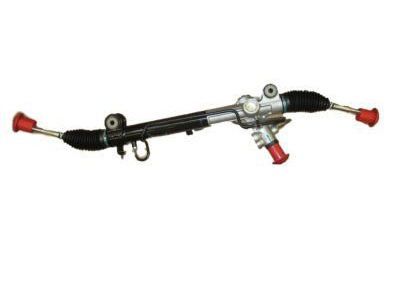
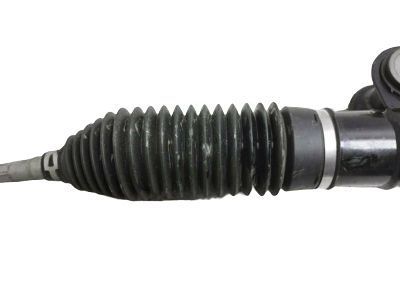
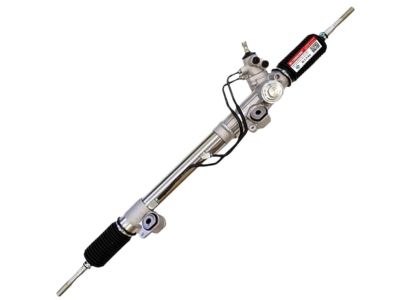
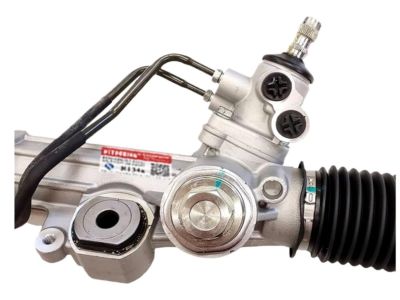
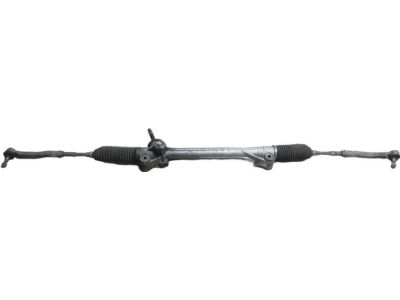
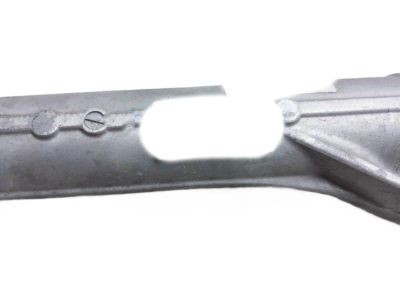
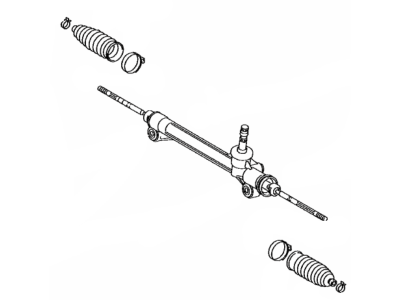
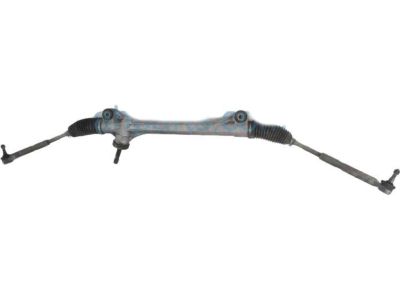
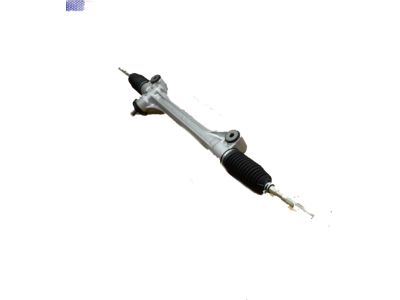
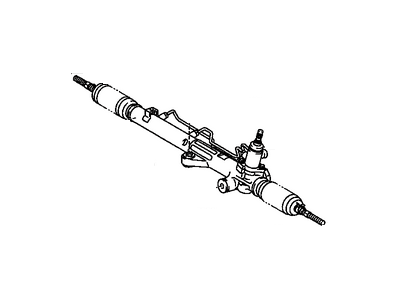
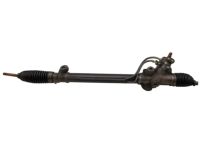
Toyota Power Steering Gear Assembly(For Rack & Pinion)
Part Number: 44250-35042$537.05 MSRP: $801.89You Save: $264.84 (34%)Ships in 1-3 Business DaysProduct Specifications- Other Name: Gear Assy, Power Steering(For Rack & Pinion); Gear Assembly, Steering Gear
- Comment: (FOR RACK & PINION)
- Replaces: 44250-35041, 44250-35040
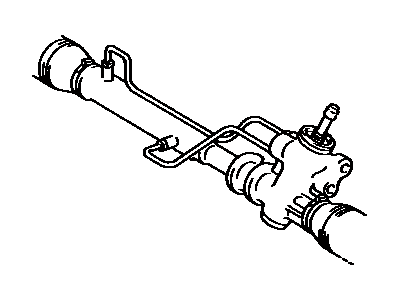
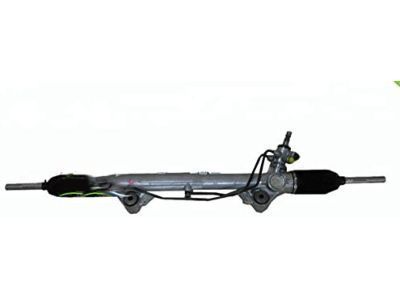
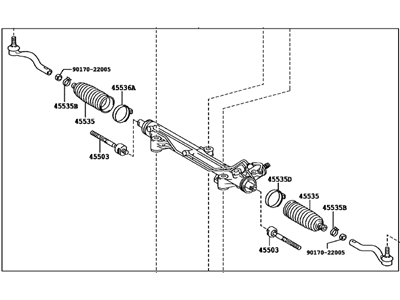
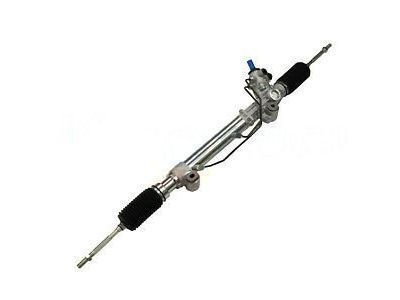
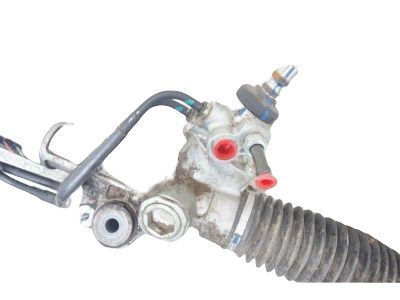
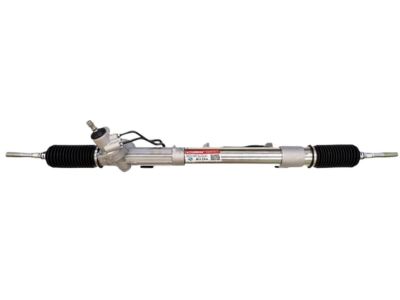
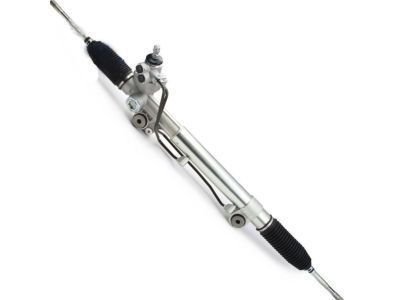
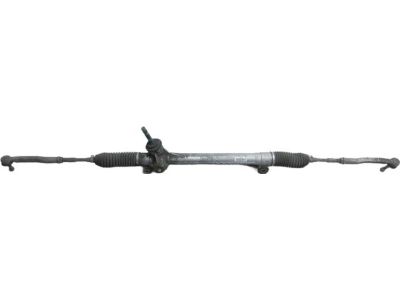
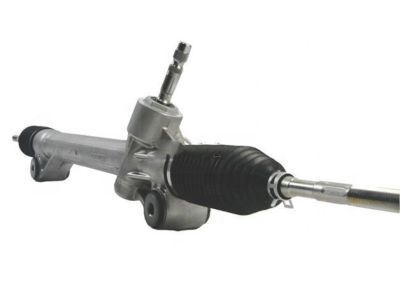
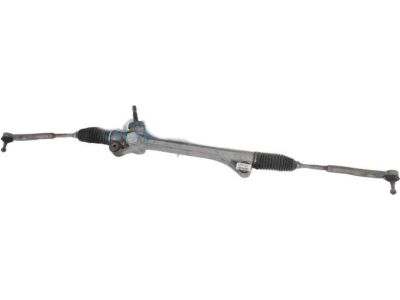
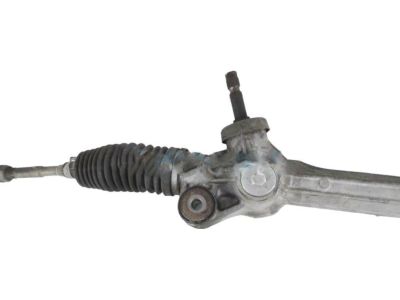
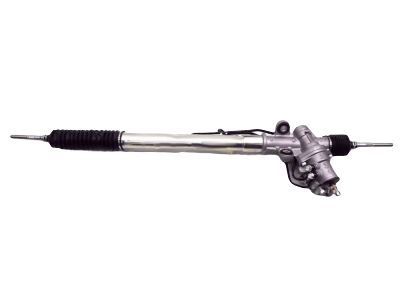
Toyota Steering Gear Assembly
Part Number: 45510-02490$542.17 MSRP: $809.54You Save: $267.37 (34%)Ships in 1-2 Business DaysProduct Specifications- Other Name: Gear Assembly, Steering; Gear Assembly, Steering Gear
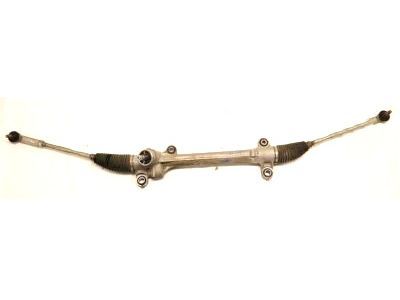
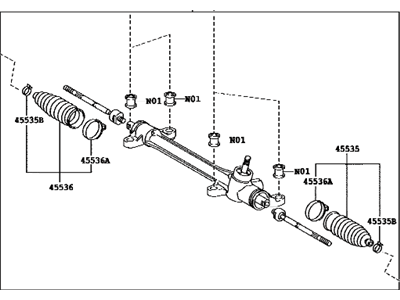
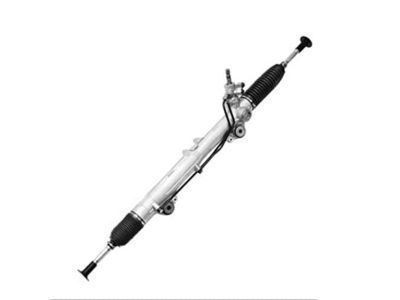
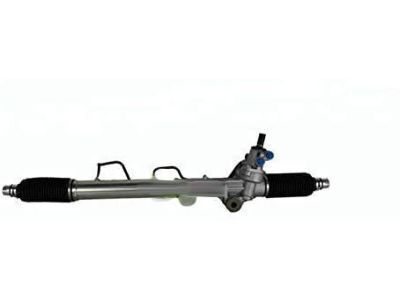
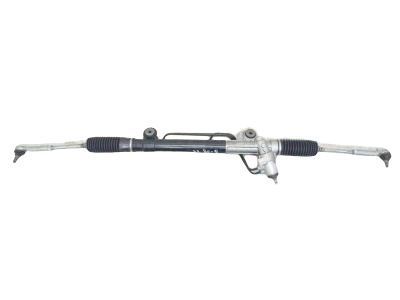
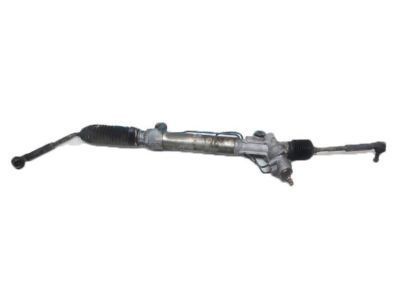
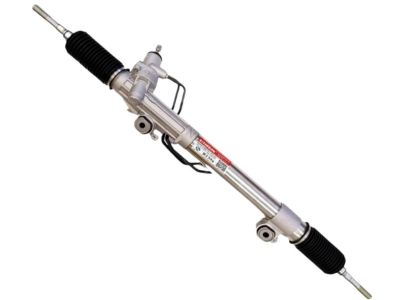
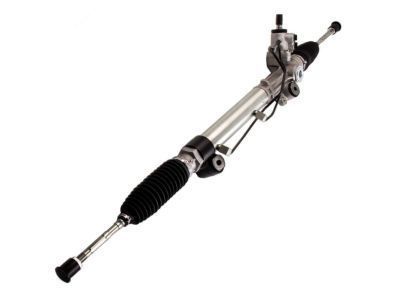
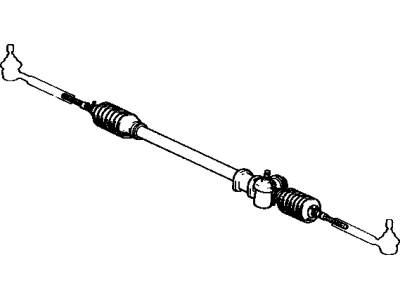
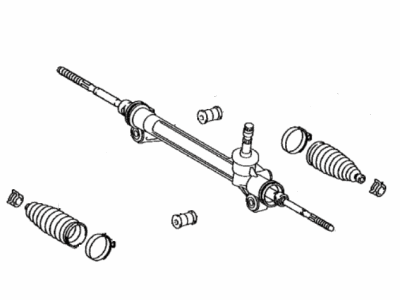
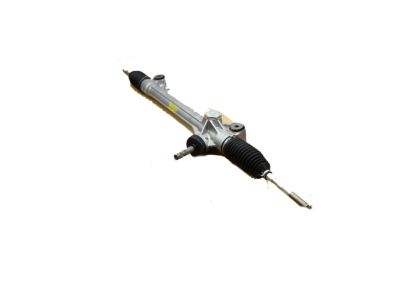
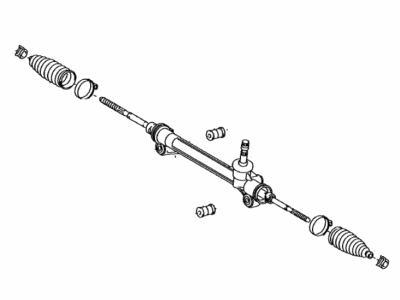
Toyota Power Steering Link Assembly
Part Number: 44200-35061$640.98 MSRP: $957.08You Save: $316.10 (34%)Ships in 1-3 Business DaysProduct Specifications- Other Name: Link Assy, Power Steering; Gear Assembly, Steering Gear
- Replaces: 44200-35060
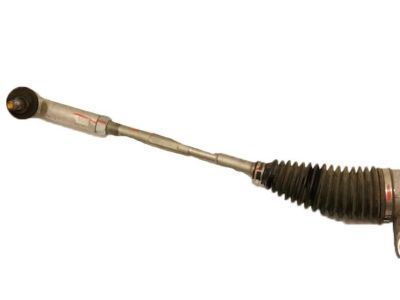
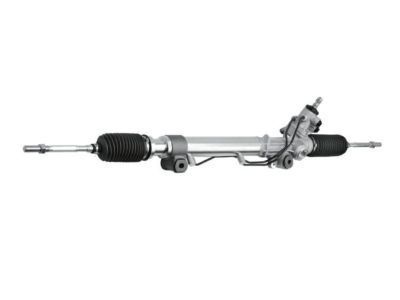
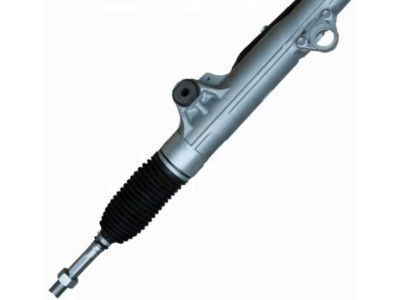
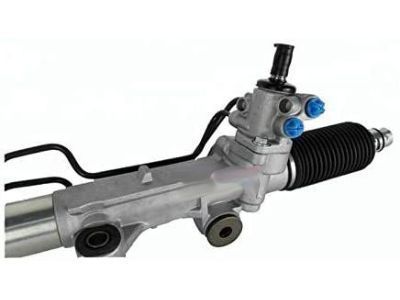
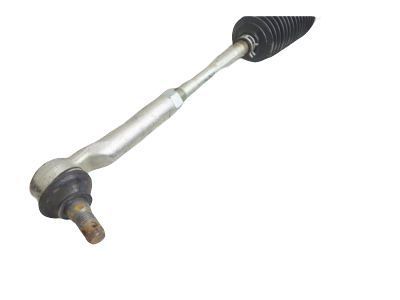
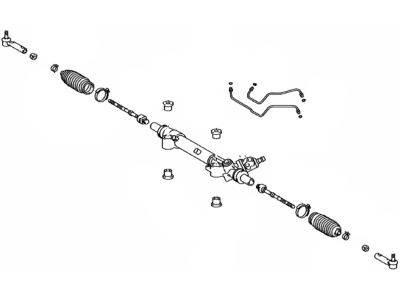
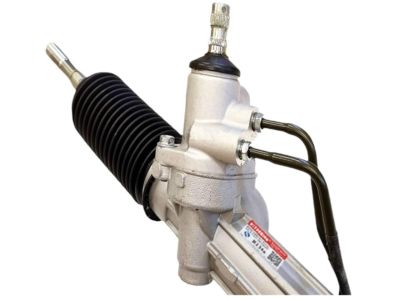
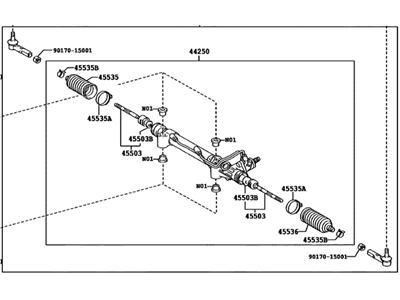
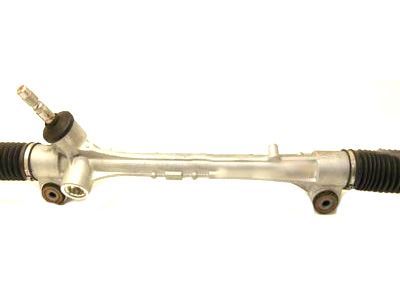
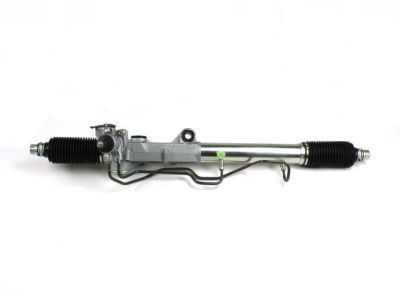
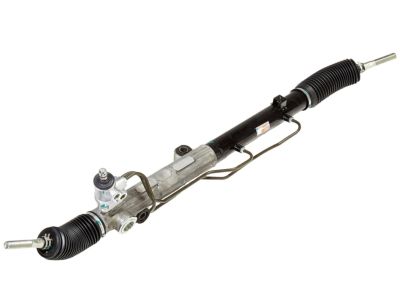
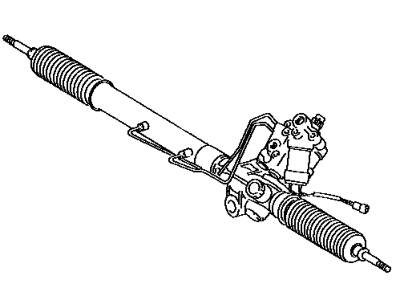
Toyota Power Steering Link Assembly
Part Number: 44200-60170$727.99 MSRP: $1086.99You Save: $359.00 (34%)Ships in 1-3 Business DaysProduct Specifications- Other Name: Link Assy, Power Steering
Toyota Power Steering Gear Assembly(For Rack & Pinion)
Part Number: 44250-35041$537.05 MSRP: $801.89You Save: $264.84 (34%)Ships in 1-3 Business DaysProduct Specifications- Other Name: Gear Assy, Power Steering(For Rack & Pinion)
- Comment: (FOR RACK & PINION)
- Replaced by: 44250-35042
Toyota Power Steering Gear Assembly(For Rack & Pinion)
Part Number: 44250-60050$672.96 MSRP: $1004.81You Save: $331.85 (34%)Ships in 1-3 Business DaysProduct Specifications- Other Name: Gear Assy, Power Steering(For Rack & Pinion); Gear Assembly, Steering Gear
- Comment: (FOR RACK & PINION)
Toyota Power Steering Link Assembly
Part Number: 44200-35070$958.30 MSRP: $1430.87You Save: $472.57 (34%)Ships in 1-2 Business DaysProduct Specifications- Other Name: Link Assy, Power Steering; Gear Assembly, Steering Gear
Toyota Power Steering Gear Assembly(For Rack & Pinion)
Part Number: 44250-04041$650.90 MSRP: $971.88You Save: $320.98 (34%)Product Specifications- Other Name: Gear Assembly, Power Steering(For Rack & Pinion); Gear Assembly, Steering Gear
Toyota Power Steering Link Assembly
Part Number: 44200-35094$758.85 MSRP: $1133.06You Save: $374.21 (34%)Ships in 1-2 Business DaysProduct Specifications- Other Name: Link Assembly, Power Steering; Gear Assembly
- Replaces: 44200-35092, 44200-35090, 44250-35090, 44200-35093, 44200-35091
Toyota Power Steering Gear Assembly(For Rack & Pinion)
Part Number: 44250-60100$598.10 MSRP: $893.04You Save: $294.94 (34%)Ships in 1-3 Business DaysProduct Specifications- Other Name: Gear Assy, Power Steering(For Rack & Pinion)
- Comment: (FOR RACK & PINION)
Toyota Power Steering Gear Assembly(For Rack & Pinion)
Part Number: 44250-04040$736.68 MSRP: $1099.96You Save: $363.28 (34%)Product Specifications- Other Name: Gear Assembly, Power Steering(For Rack & Pinion); Gear Assembly, Steering Gear
Toyota Power Steering Gear Assembly(For Rack & Pinion)
Part Number: 44250-35080$640.98 MSRP: $957.08You Save: $316.10 (34%)Ships in 1-3 Business DaysProduct Specifications- Other Name: Gear Assy, Power Steering(For Rack & Pinion); Rack & Pinion
- Comment: (FOR RACK & PINION)
Toyota Steering Gear Assembly
Part Number: 45510-08010$540.39 MSRP: $806.87You Save: $266.48 (34%)Ships in 1-2 Business DaysProduct Specifications- Other Name: Gear Assembly, Steering; Gear Assembly, Steering Gear
- Product Specifications
- Other Name: Gear Assembly, Steering; Gear Assembly, Steering Gear
- Replaces: 45510-06021
Toyota Steering Gear Assembly
Part Number: 45510-0E030$598.88 MSRP: $894.21You Save: $295.33 (34%)Ships in 1-3 Business DaysProduct Specifications- Other Name: Gear Assembly, Steering; Gear Assembly, Steering Gear
- Replaces: 45510-48010
Toyota Power Steering Link Assembly
Part Number: 44200-35013$678.08 MSRP: $1012.47You Save: $334.39 (34%)Ships in 1-3 Business DaysProduct Specifications- Other Name: Link Assy, Power Steering
Toyota Steering Gear Assembly
Part Number: 45510-0E042$557.55 MSRP: $832.49You Save: $274.94 (34%)Ships in 1-2 Business DaysProduct Specifications- Other Name: Gear Assy, Steering; Gear Assembly, Steering Gear
- Replaces: 45510-0E041, 45510-0E040
Toyota Power Steering Gear Assembly(For Rack & Pinion)
Part Number: 44250-04030$736.68 MSRP: $1099.96You Save: $363.28 (34%)Product Specifications- Other Name: Gear Assy, Power Steering(For Rack & Pinion); Gear Assembly, Steering Gear
- Comment: (FOR RACK & PINION)
Toyota Power Steering Gear Assembly(For Rack & Pinion)
Part Number: 44250-0C041$709.38 MSRP: $1059.21You Save: $349.83 (34%)Product Specifications- Other Name: Gear Assy, Power Steering(For Rack & Pinion); Gear Assembly, Steering Gear
- Manufacturer Note: W(REAR STABILIZER)
- Comment: (FOR RACK & PINION)
- Replaces: 44250-0C050, 44250-0C020
- Product Specifications
- Other Name: Gear Assy, Power Steering(For Rack & Pinion); Gear Assembly, Steering Gear
- Comment: (FOR RACK & PINION)
- Replaces: 44250-14222
| Page 1 of 26 |Next >
1-20 of 512 Results
Toyota Rack And Pinion Parts Questions & Experts Answers
- Q: How to Remove and Install the Rack and Pinion Steering Gear Assembly on 2003 through 2009 Toyota 4Runner?A:Ensure the front wheels are pointed straight ahead and apply the parking brake. Disconnect the cable from the negative terminal of the battery and wait at least three minutes before proceeding. Loosen the wheel lug nuts, raise the front of the vehicle, and support it securely on jackstands before removing the front wheels. Remove the lower engine and left fenderwell splash shields. Disconnect the tie-rod ends from the steering knuckles and remove the stabilizer bar. Mark the upper and lower intermediate shaft in relation to the shaft coupler, then remove both pinch bolts. Remove the U-joint coupler pinch bolt at the bottom of the lower intermediate shaft where it connects to the Rack And Pinion input shaft. Slide the U-joint up from the Rack And Pinion, mark the Rack And Pinion input shaft in relation to the U-joint, then slide it back down to its normal position. Slide the shaft coupler up onto the upper intermediate shaft to allow the two shafts to separate, then pull the lower intermediate shaft U-joint off the Rack And Pinion input shaft and remove it. Detach the pressure and return lines from the frame by removing the bracket mounting bolts. Use a flare wrench to disconnect the pressure line from the Rack And Pinion, squeeze the hose clamp on the return hose, move it up the hose a bit, and then pull the hose from the fitting. Remove the Rack And Pinion mounting fasteners, turning the bolts, not the nuts, and move the mounting bolts out of the crossmember before moving the Rack And Pinion until the bolts can be removed completely. Carefully angle the Rack And Pinion assembly down and move it from side to side until it's clear of the crossmember. Installation is the reverse of removal, ensuring all matchmarks made during the removal procedure are aligned and all suspension and Rack And Pinion fasteners are tightened to the specified torque. Tighten the wheel lug nuts to the specified torque. After any repairs to the steering components, various sensors for the VSC TRAC system may need calibration, which can be confirmed by a warning light at the instrument cluster. If no warning light is present, the system should be normal. Calibration requires special tools and expertise, and the vehicle can be driven to a dealership service department or qualified repair shop for calibration if necessary. Keep in mind that the VSC TRAC, ABS, and DAG features may not be operational. Finally, bleed the power steering system.
- Q: How to Remove and Install the Rack and Pinion Steering Gear Assembly on 2005 through 2009 Toyota Tacoma?A:Ensure the front wheels are pointed straight ahead and apply the parking brake. Disconnect the cable from the negative terminal of the battery. Loosen the wheel lug nuts, raise the front of the vehicle, and support it securely on jackstands before removing the front wheels. Remove the lower engine splash shield at the front. For 4WD and Prerunner models, remove the front exhaust pipe assemblies that include the catalytic converters and oxygen sensors, followed by all driveshaft assemblies including the front driveshaft. Remove the stabilizer bar. For all models, disconnect the tie-rod ends from the steering knuckles, mark the upper and lower intermediate shaft in relation to the shaft coupler, and remove both pinch bolts. Remove the U-joint coupler pinch bolt at the bottom of the lower intermediate shaft where it connects to the Rack And Pinion input shaft. Slide the U-joint up from the Rack And Pinion, mark the Rack And Pinion input shaft in relation to the U-joint, and then slide it back down to its normal position. Slide the shaft coupler up onto the upper intermediate shaft to allow the two shafts to separate, then pull the lower intermediate shaft U-joint off the Rack And Pinion input shaft and remove it. Detach the pressure and return line bracket(s) from the Rack And Pinion, use a flare wrench to disconnect the pressure line, and pull the return hose from the fitting. Remove the Rack And Pinion mounting fasteners while holding the mounting nuts and turning the mounting bolts. On 4WD and PreRunner models, support the rear crossmember with a floor jack, remove the mounting fasteners, and lower it to tilt the front of the engine up, providing the necessary clearance to remove the Rack And Pinion assembly by carefully angling it down and moving it from side to side until it's clear of the crossmember. Installation is the reverse of removal, ensuring all match marks are aligned and all fasteners are tightened to the specified torque values. Tighten the wheel lug nuts accordingly. For models equipped with VSC TRAC, any repairs to the steering components may require calibration of the system's various sensors, indicated by a warning light at the instrument cluster. If no warning light is present, the system should be normal, but calibration may require special tools and expertise. The vehicle can be driven to a dealership service department or qualified repair for calibration if necessary. Additionally, bleed the power steering system and have the front end alignment checked and adjusted if needed.
Related Toyota Parts
Browse by Model
4Runner Rack And Pinion 86 Rack And Pinion Avalon Rack And Pinion C-HR Rack And Pinion Camry Rack And Pinion Celica Rack And Pinion Corolla Cross Rack And Pinion Corolla Rack And Pinion Corolla iM Rack And Pinion Cressida Rack And Pinion Crown Rack And Pinion Echo Rack And Pinion FJ Cruiser Rack And Pinion GR Corolla Rack And Pinion GR Supra Rack And Pinion GR86 Rack And Pinion Grand Highlander Rack And Pinion Highlander Rack And Pinion Land Cruiser Rack And Pinion MR2 Rack And Pinion MR2 Spyder Rack And Pinion Matrix Rack And Pinion Mirai Rack And Pinion Paseo Rack And Pinion Previa Rack And Pinion Prius AWD-e Rack And Pinion Prius C Rack And Pinion Prius Prime Rack And Pinion Prius Rack And Pinion Prius V Rack And Pinion RAV4 Prime Rack And Pinion RAV4 Rack And Pinion Sequoia Rack And Pinion Sienna Rack And Pinion Solara Rack And Pinion Starlet Rack And Pinion Supra Rack And Pinion T100 Rack And Pinion Tacoma Rack And Pinion Tercel Rack And Pinion Tundra Rack And Pinion Van Rack And Pinion Venza Rack And Pinion Yaris Rack And Pinion Yaris iA Rack And Pinion bZ4X Rack And Pinion
