
My Garage
My Account
Cart
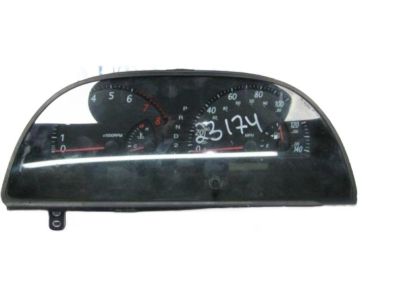
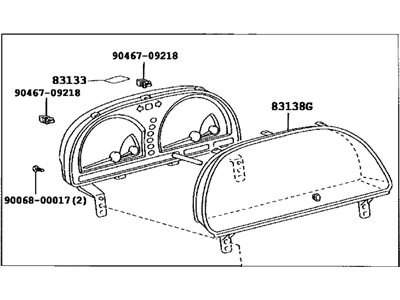
Genuine Toyota Instrument Cluster
Speedometer Instrument Cluster- Select Vehicle by Model
- Select Vehicle by VIN
Select Vehicle by Model
orMake
Model
Year
Select Vehicle by VIN
For the most accurate results, select vehicle by your VIN (Vehicle Identification Number).
1794 Instrument Clusters found
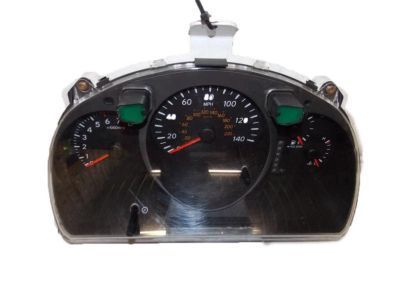
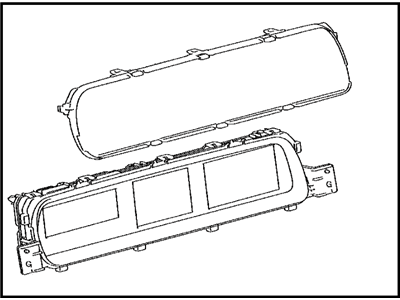
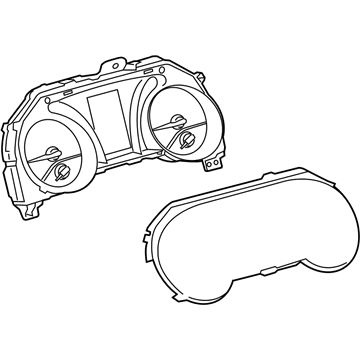
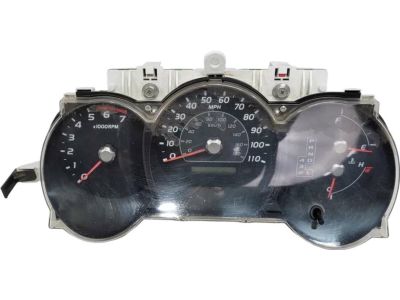
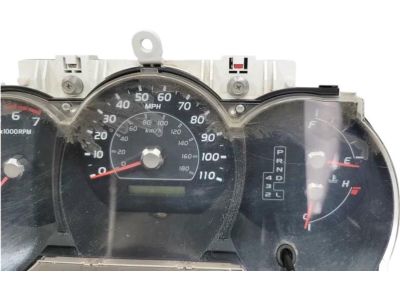
Toyota Combination Meter Assembly
Part Number: 83800-48430$553.39 MSRP: $826.28You Save: $272.89 (34%)Ships in 1-3 Business DaysProduct Specifications- Other Name: Meter Assy, Combination; Instrument Cluster, Speedometer Cluster
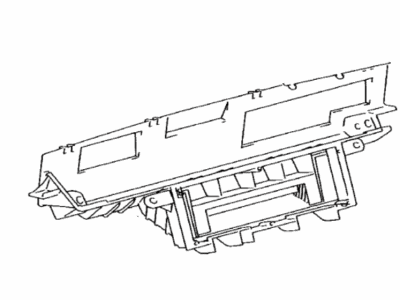
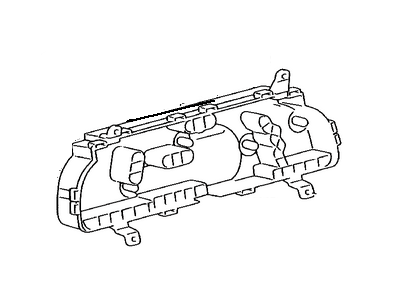
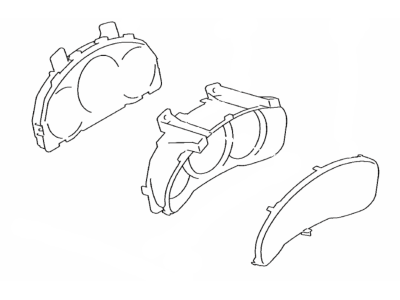
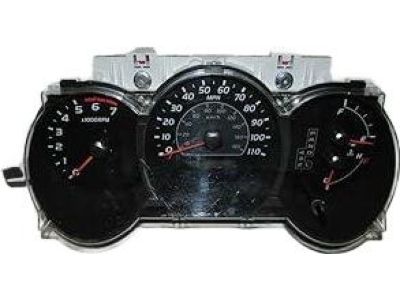
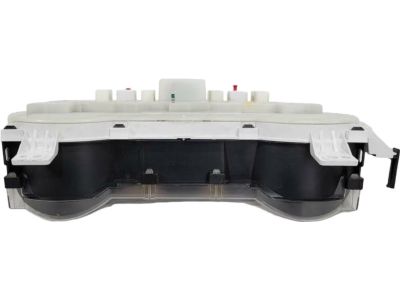
Toyota Combination Meter Case
Part Number: 83841-47101$129.86 MSRP: $184.61You Save: $54.75 (30%)Ships in 1-3 Business DaysProduct Specifications- Other Name: Case, Combination Meter; Case
- Replaces: 83841-47100, 83841-47120
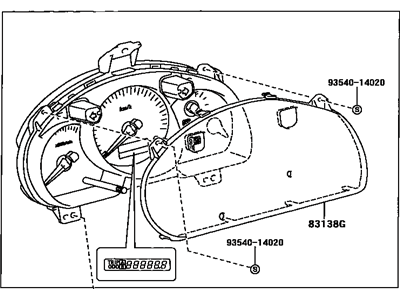
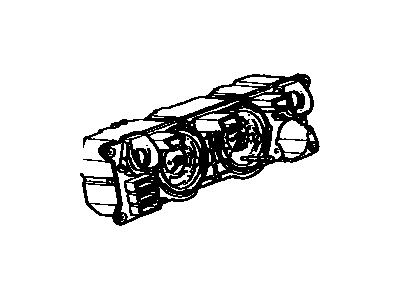
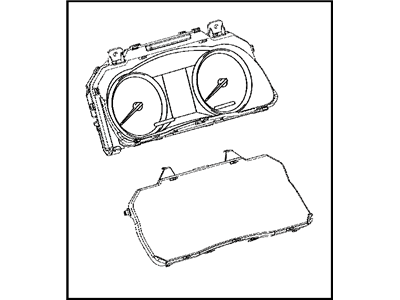
Toyota Combination Meter Assembly
Part Number: 83800-0XN94$424.27 MSRP: $632.92You Save: $208.65 (33%)Ships in 1-2 Business DaysProduct Specifications- Other Name: METER ASSY, COMBINAT; Cluster Assembly
- Manufacturer Note: DENSO
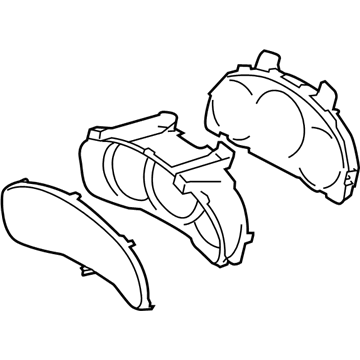
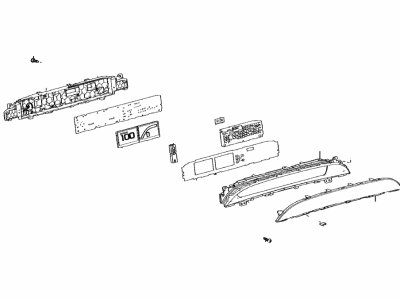
Toyota Combination Meter Assembly
Part Number: 83800-0CX10$413.45 MSRP: $616.80You Save: $203.35 (33%)Ships in 1-3 Business DaysProduct Specifications- Other Name: METER ASSY, COMBINAT
Toyota Combination Meter Assembly
Part Number: 83800-5CV00$817.32 MSRP: $1220.38You Save: $403.06 (34%)Ships in 1-3 Business DaysProduct Specifications- Other Name: Meter Assy, Combination; Cluster Assembly, Instrument Cluster
Toyota Combination Meter Assembly
Part Number: 83800-6AW23$1108.99 MSRP: $1655.87You Save: $546.88 (34%)Ships in 1-3 Business DaysProduct Specifications- Other Name: Meter Assembly, COMBINAT; Cluster Assembly, Instrument Cluster
- Manufacturer Note: YAZAKI
Toyota Combination Meter Assembly
Part Number: 83800-0CX50$844.41 MSRP: $1260.83You Save: $416.42 (34%)Ships in 1-2 Business DaysProduct Specifications- Other Name: METER ASSY, COMBINAT; Gauge Cluster
Toyota Combination Meter Assembly
Part Number: SU003-07448$362.64 MSRP: $503.12You Save: $140.48 (28%)Ships in 1-3 Business DaysProduct Specifications- Other Name: COMBI Meter Assembly; Cluster
- Manufacturer Note: DENSO,DESTINATION CODE=U4
Toyota Combination Meter Case
Part Number: 83841-0C110$72.33 MSRP: $101.97You Save: $29.64 (30%)Ships in 1-3 Business DaysProduct Specifications- Other Name: Case, Combination Meter; Case
Toyota Combination Meter Assembly
Part Number: 83800-35D60$385.17 MSRP: $574.59You Save: $189.42 (33%)Ships in 1-3 Business DaysProduct Specifications- Other Name: Meter Assy, Combination; Instrument Cluster
Toyota Combination Meter Assembly
Part Number: 83800-0CS60$413.29 MSRP: $616.54You Save: $203.25 (33%)Ships in 1-3 Business DaysProduct Specifications- Other Name: METER ASSY, COMBINAT; Gauge Cluster, Instrument Cluster
Toyota Combination Meter Assembly
Part Number: 83800-1AB10$456.19 MSRP: $680.55You Save: $224.36 (33%)Ships in 1-3 Business DaysProduct Specifications- Other Name: Meter Assembly, COMBINAT; Instrument Cluster
- Manufacturer Note: DENSO
Toyota Combination Meter Assembly
Part Number: 83800-0XQ61$529.95 MSRP: $790.57You Save: $260.62 (33%)Ships in 1-3 Business DaysProduct Specifications- Other Name: METER ASSY, COMBINAT; Cluster Assembly
- Manufacturer Note: DENSO
Toyota Combination Meter Assembly
Part Number: 83800-33B50$831.39 MSRP: $1241.38You Save: $409.99 (34%)Ships in 1-3 Business DaysProduct Specifications- Other Name: Meter Assy, Combination; Instrument Cluster
Toyota Instrument Cluster Assembly
Part Number: SU003-07449$362.64 MSRP: $503.12You Save: $140.48 (28%)Ships in 1-3 Business DaysProduct Specifications- Other Name: COMBI Meter Assembly; Instrument Cluster
- Manufacturer Note: DENSO,DESTINATION CODE=C0
Toyota Combination Meter Assembly
Part Number: 83800-33Q10$499.50 MSRP: $745.14You Save: $245.64 (33%)Ships in 1-3 Business DaysProduct Specifications- Other Name: Meter Assembly, COMBINAT; Cluster Assembly, Instrument Cluster
- Manufacturer Note: MARK=83800-33Q10
Toyota Combination Meter Assembly
Part Number: 83800-0E811$513.73 MSRP: $766.38You Save: $252.65 (33%)Ships in 1-3 Business DaysProduct Specifications- Other Name: Meter Assembly, COMBINAT; Cluster Assembly
- Manufacturer Note: DENSO
Toyota Combination Meter Assembly
Part Number: 83800-4E251$672.04 MSRP: $1003.45You Save: $331.41 (34%)Ships in 1-3 Business DaysProduct Specifications- Other Name: METER ASSY, COMBINAT
- Manufacturer Note: YAZAKI
- Product Specifications
- Other Name: Cluster Assembly, Instrument Cluster
- Product Specifications
- Other Name: Cluster Assembly, Instrument Cluster
| Page 1 of 90 |Next >
1-20 of 1794 Results
Toyota Instrument Cluster Parts Questions & Experts Answers
- Q: How to remove and install the Instrument Cluster on a Toyota Camry?A:Taking off the instrument panel in Camry is hard for home mechanics because they can't see where fasteners are, working gets harder as angles get tighter, and many electrical connections need to be marked and unplugged. If you know what you're doing, you can tackle this job. But leave it to professionals if you aren't experienced. When you take off parts, write down how you put them in place so you can easily rebuild it. Although experimenters may find it helpful, taking out both front seats lets you work better and protects your car from harm. Start by taking off the black battery cable, next take away the dashboard trim covers and cabinet below your feet. Unbolt and remove the passenger airbag, after prying out the underside of the side console. First you need to take out two parts: the driver's audio player and air conditioner control buttons. If your car has kneepads on the driver's side, remove and disconnect them too. Take off the plastic covers on both ends of the dashboard, reaching inside to take out the bolts holding the part it connects to. Once done, lift the bottom portion of the steering wheel and attach it to the passenger seat. Remove and tag electrical connectors for future reference, lift the speaker trim and defroster trim panel to access the optical sensor connecting cable. Take out the instrument panel by first removing every fastener holding it to the body. Lift the panel up and carefully slide it away from the windshield to remove it through the door opening. Working with a partner makes this step much easier. As you slide out the reinforcement tube, separate and remove any electric wire connections that get in your way. Next, disconnect the wiring harness and then unfasten it. Pull the reinforcement tube through the door by first removing all hardware. When putting the instrument panel back in place, you undo everything you did to take it out.
- Q: How to remove the Instrument Cluster on a 2003 through 2009 Toyota 4Runner?A:This procedure proves to be difficult for home mechanics because of concealed screws, awkward positions and numerous electrical connections that require labeling and removal. Hence, the do-it-yourself approach is suitable only for experienced persons in the handling of production processes. Special attention should be paid when the instrument panel is being unbolted to ensure that one keeps records of the items and their exact location in the car to ensure that while assembling, they are placed in the same position they were originally before they were unbolted. While not necessary, both front seats can be unbolted freeing up more working space as well as preventing dents. Start by disconnecting the k a negative terminal, then trim the dashboard and the steering column, center console. Next, remove the glove box and instrument cluster and following that remove the audio unit and the air conditioning control panel. Pull out the glove box finish panel and thus, unclip the electrical connector for the passenger's side airbag as well as the mounting bolts for the mentioned airbag. Remove the bolts fixing the steering column and pull the steering column down from the proximity of the instrument panel. These include the sidekick panels, and the front pillar trim, together with severing many other electrical connectors, whereby these may be labelled if needed. Last of all, release all bolts or screws that are attached to the instrument panel with the body, take out the instrument panel and if possible, also disconnect the electrical connection and finally, the instrument panel reinforcement tube should be removed. In most cases reinstallation is done in the reverse order to that of removal.
- Q: How to Remove and Install the Instrument Cluster on Toyota Highlander?A:This is a difficult procedure for the home mechanic. There are many hidden fasteners, difficult angles to work in and many electrical connectors to tag and disconnect/connect. We recommend that this procedure be done only by an experienced do-it-yourselfer. During removal of the instrument panel, make careful notes of how each piece comes off, where it fits in relation to other pieces and what holds it in place. If you note how each part is installed before removing it, getting the instrument panel back together again will be much easier. It is not necessary, but it is suggested to remove both front seats to allow additional working space and lessen the chance of damage to the seats during this procedure. Disconnect the cable from the negative battery terminal. Remove the dashboard trim panels and the center floor console. Remove the glove box. Remove the instrument cluster. Disconnect the electrical connector from the passenger's side airbag. Remove the audio unit and air conditioning control panel at the center of the dashboard. Remove the driver's knee bolster and reinforcement panel. Unscrew the bolts securing the steering column and lower it away from the instrument panel. Remove the side kick panels. Remove the front pillar trim. A number of electrical connectors must be disconnected in order to remove the instrument panel. Most are designed so that they will only fit on the matching connector (male or female), but if there is any doubt, mark the connectors with masking tape and a marking pen before disconnecting them. Remove all of the fasteners (bolts, screws and nuts) holding the instrument panel to the body. Once all are removed, lift the panel then pull it away from the windshield and take it out through the driver's door opening. Note: This is a two-person job. If you're also removing the instrument panel reinforcement tube, remove the fasteners securing the tube and take it out through the driver's door opening. Installation is the reverse of removal.
Related Toyota Parts
Browse by Model
4Runner Instrument Cluster 86 Instrument Cluster Avalon Instrument Cluster C-HR Instrument Cluster Camry Instrument Cluster Celica Instrument Cluster Corolla Cross Instrument Cluster Corolla Instrument Cluster Corolla iM Instrument Cluster Corona Instrument Cluster Cressida Instrument Cluster Crown Instrument Cluster Echo Instrument Cluster FJ Cruiser Instrument Cluster GR Corolla Instrument Cluster GR Supra Instrument Cluster GR86 Instrument Cluster Grand Highlander Instrument Cluster Highlander Instrument Cluster Land Cruiser Instrument Cluster MR2 Instrument Cluster MR2 Spyder Instrument Cluster Matrix Instrument Cluster Mirai Instrument Cluster Paseo Instrument Cluster Pickup Instrument Cluster Previa Instrument Cluster Prius AWD-e Instrument Cluster Prius C Instrument Cluster Prius Instrument Cluster Prius Prime Instrument Cluster Prius V Instrument Cluster RAV4 Instrument Cluster RAV4 Prime Instrument Cluster Sequoia Instrument Cluster Sienna Instrument Cluster Solara Instrument Cluster Starlet Instrument Cluster Supra Instrument Cluster T100 Instrument Cluster Tacoma Instrument Cluster Tercel Instrument Cluster Tundra Instrument Cluster Van Instrument Cluster Venza Instrument Cluster Yaris Instrument Cluster Yaris iA Instrument Cluster bZ4X Instrument Cluster
