
My Garage
My Account
Cart
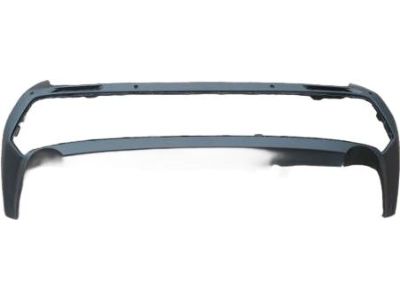
Genuine Toyota Bumper
Bumper Fascia- Select Vehicle by Model
- Select Vehicle by VIN
Select Vehicle by Model
orMake
Model
Year
Select Vehicle by VIN
For the most accurate results, select vehicle by your VIN (Vehicle Identification Number).
856 Bumpers found
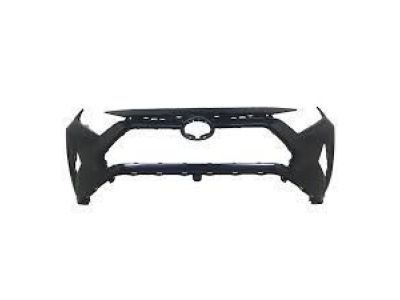
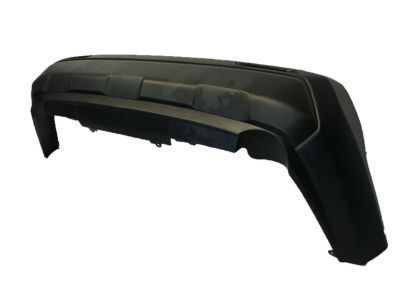
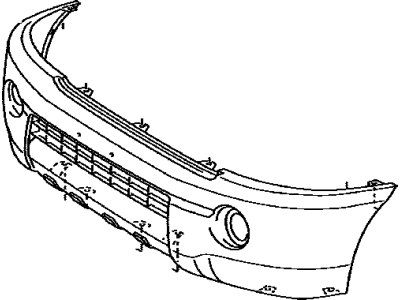
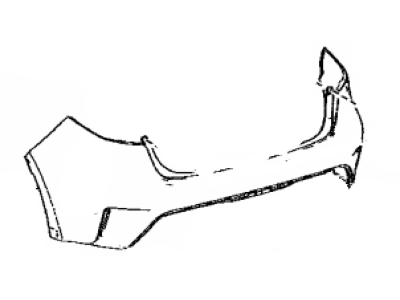
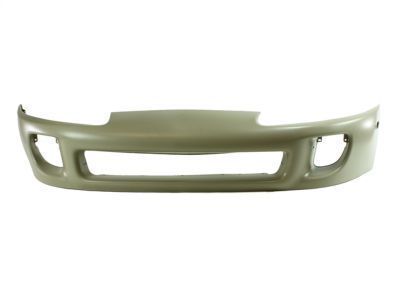
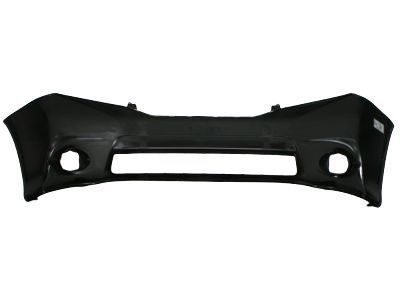
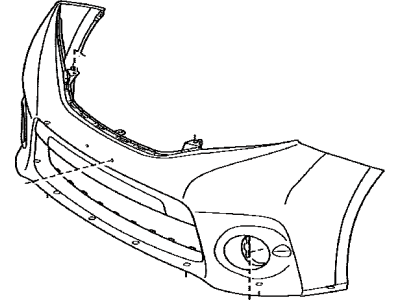
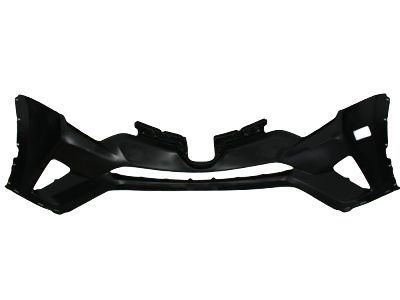
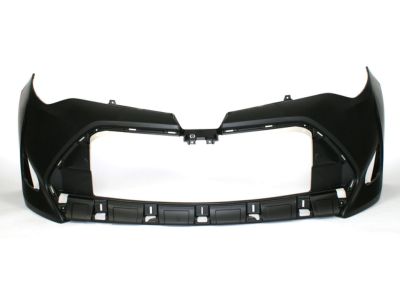
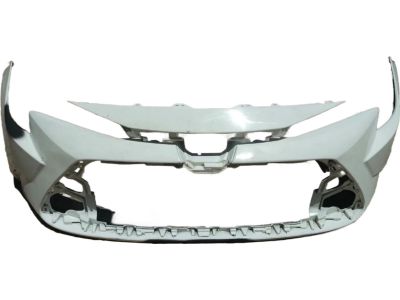
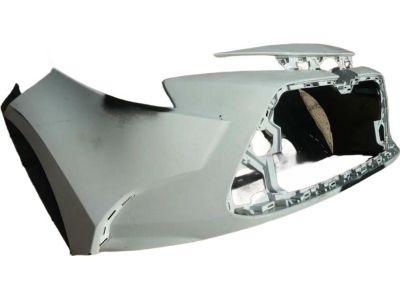
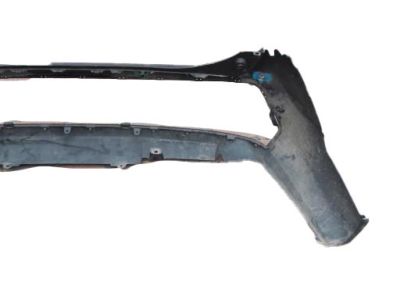
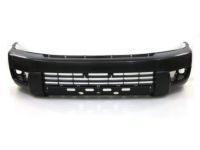
Toyota Front Bumper L/P Cover
Part Number: 52119-0R919$150.10 MSRP: $213.40You Save: $63.30 (30%)Ships in 1-3 Business DaysProduct Specifications- Other Name: Cover, Fr Bumper L/P; Bumper Cover
- Position: Front Driver Side
- Replaces: 52119-4A916
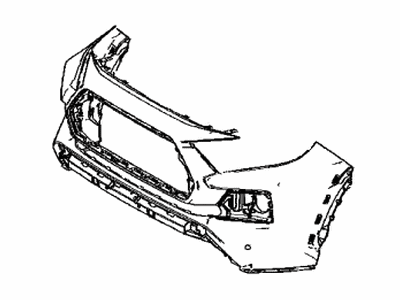
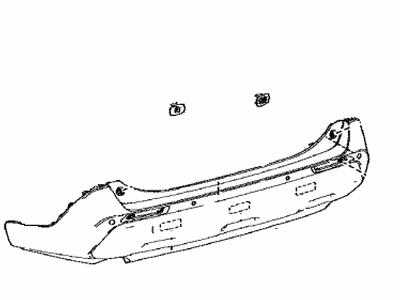
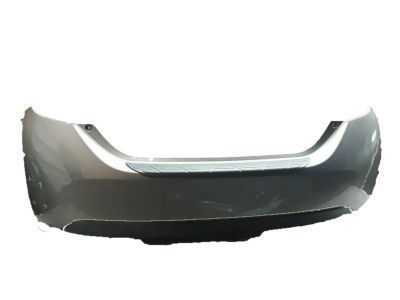
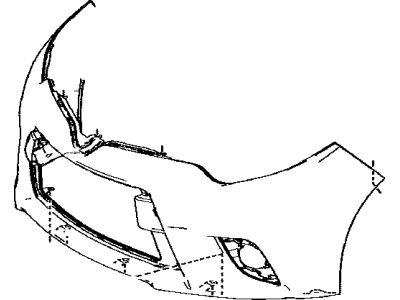
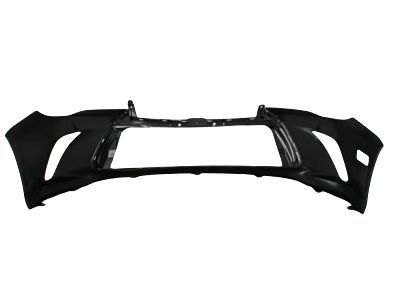
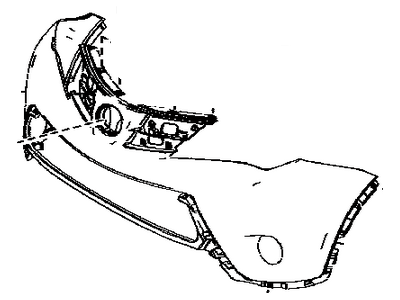
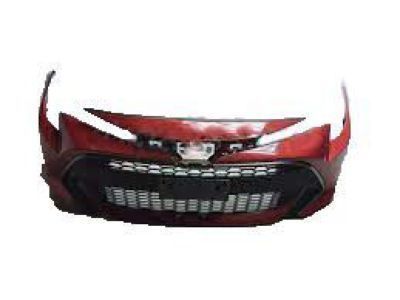
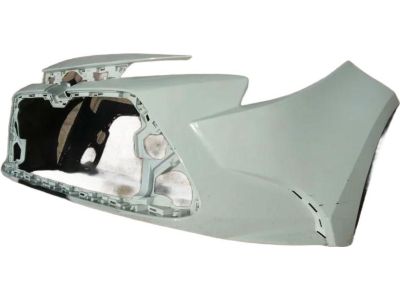
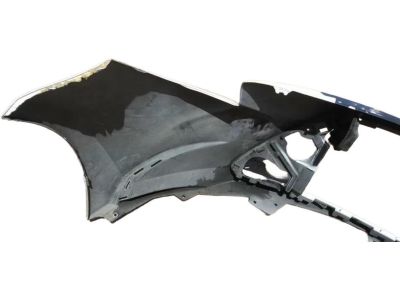
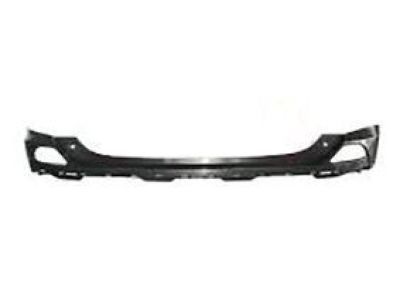
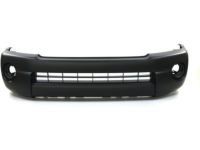
Toyota Front Bumper Cover, Driver Side
Part Number: 52119-4A916$150.10 MSRP: $213.40You Save: $63.30 (30%)Ships in 1-3 Business DaysProduct Specifications- Other Name: Cover, Fr Bumper L/C
- Manufacturer Note: PAINT REQ.
- Position: Front Driver Side
- Replaced by: 52119-0R919
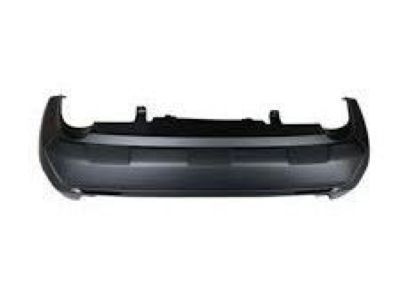
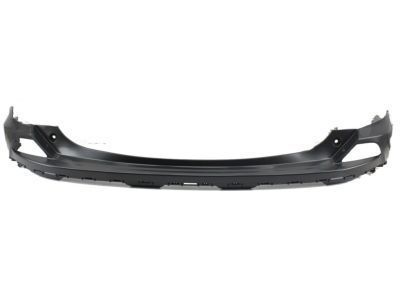
- Product Specifications
- Other Name: Bumper Cover
- Manufacturer Note: NO PAINT REQ.
- Position: Rear
- Replaces: 52159-42220
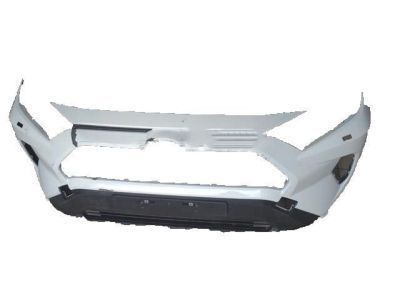
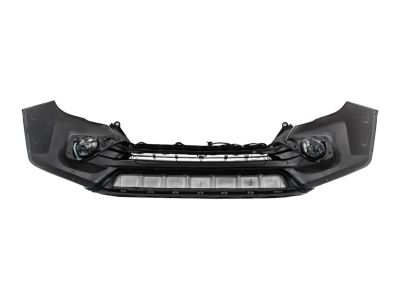
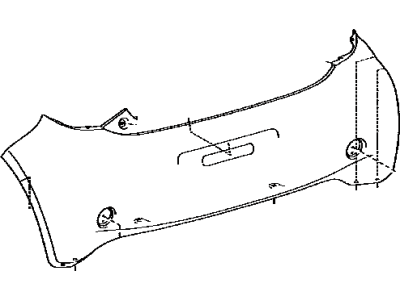
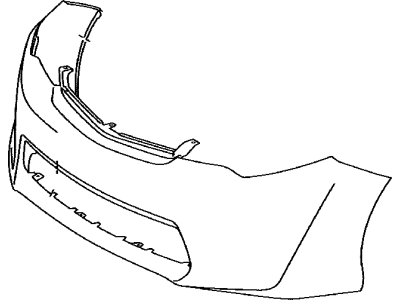
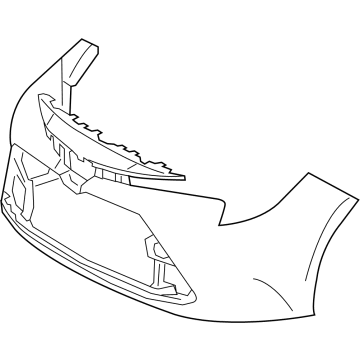
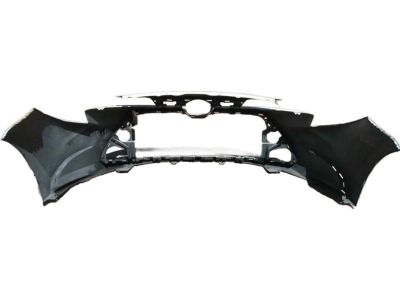
Toyota Front Bumper L Cover
Part Number: 52119-04907$204.03 MSRP: $292.57You Save: $88.54 (31%)Ships in 1-3 Business DaysProduct Specifications- Other Name: Cover, Front Bumper; Bumper Cover
- Position: Front Driver Side
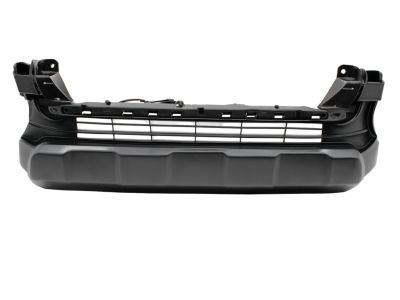
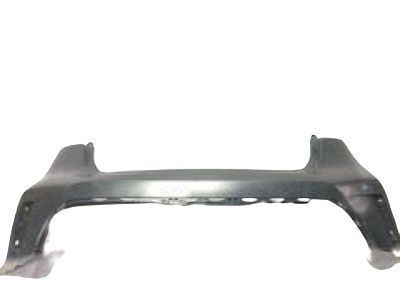
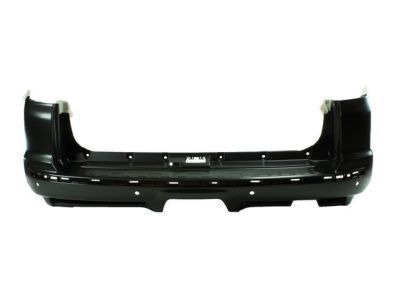
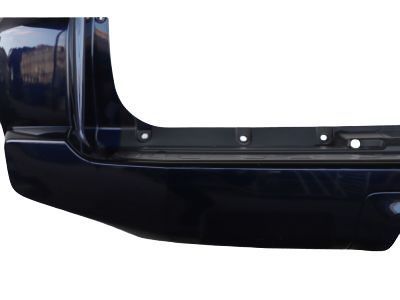
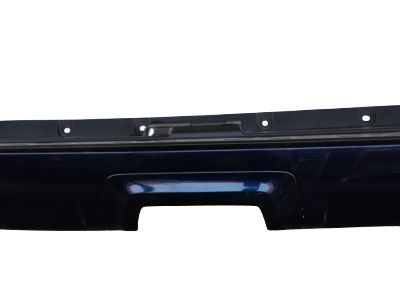
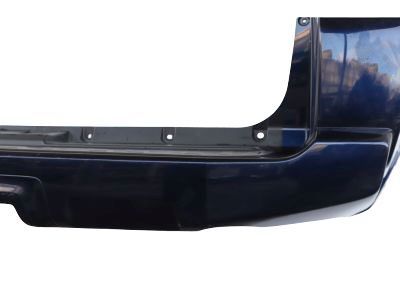
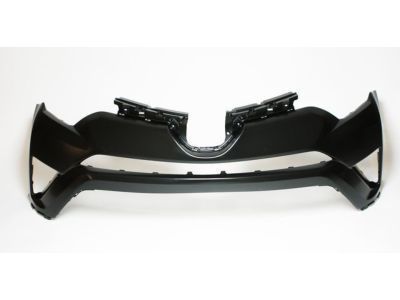
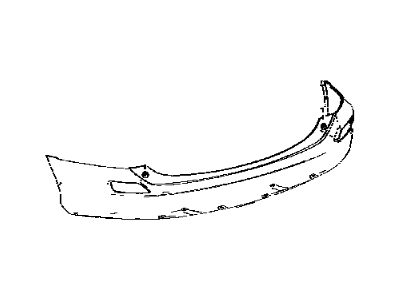
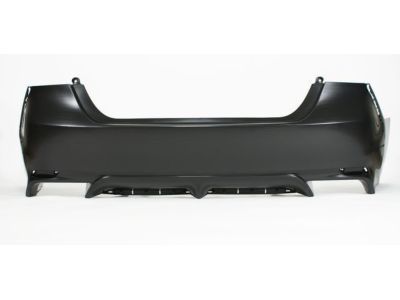
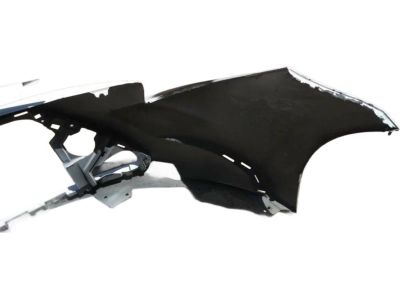
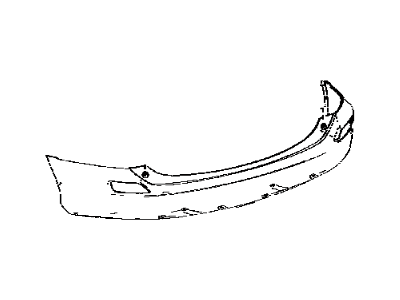
Toyota Cover Rear Bumper Left
Part Number: 52159-03901$204.61 MSRP: $293.40You Save: $88.79 (31%)Ships in 1-3 Business DaysProduct Specifications- Other Name: Cover, Rear Bumper; Bumper Cover
- Manufacturer Note: PAINT REQ.
- Position: Rear Driver Side
Toyota Cover, Rr Bumper, L
Part Number: 52159-0X927$145.65 MSRP: $207.08You Save: $61.43 (30%)Ships in 1-3 Business DaysProduct Specifications- Other Name: Bumper Cover
- Position: Rear Driver Side
- Replaces: 52159-12960
Toyota Cover Rear Bumper Left Passenger Side
Part Number: 52159-35919$247.65 MSRP: $355.11You Save: $107.46 (31%)Ships in 1-3 Business DaysProduct Specifications- Other Name: Cover, Rear Bumper; Bumper Cover
- Position: Rear Driver Side
- Replaces: 52159-35916
Toyota Front Bumper L Cover
Part Number: 52119-03904$190.11 MSRP: $272.61You Save: $82.50 (31%)Ships in 1-3 Business DaysProduct Specifications- Other Name: Cover, Front Bumper; Bumper Cover
- Position: Front Driver Side
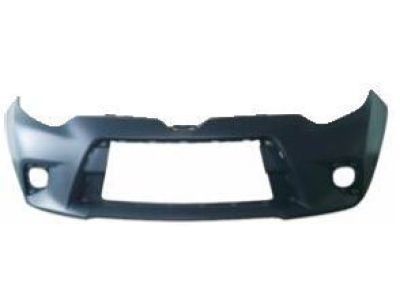
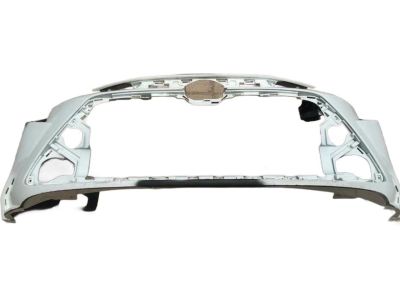
Toyota Front Bumper Cover
Part Number: 52119-14921$420.79 MSRP: $627.73You Save: $206.94 (33%)Ships in 1-3 Business DaysProduct Specifications- Other Name: Cover, Front Bumper; Bumper Cover
- Position: Front
Toyota Cover Rear Bumper Left Passenger Side
Part Number: 52159-35922$249.50 MSRP: $357.77You Save: $108.27 (31%)Ships in 1-3 Business DaysProduct Specifications- Other Name: Cover, Rear Bumper; Bumper Cover
- Manufacturer Note: PAINT REQ.
- Position: Rear Driver Side
Toyota Front Bumper L Cover
Part Number: 52119-08904$230.25 MSRP: $330.16You Save: $99.91 (31%)Ships in 1-3 Business DaysProduct Specifications- Other Name: Cover, Front Bumper; Bumper Cover
- Manufacturer Note: PAINT REQ.
- Position: Front Driver Side
Toyota Front Bumper L/C Cover
Part Number: 52119-07912$174.22 MSRP: $249.82You Save: $75.60 (31%)Ships in 1-3 Business DaysProduct Specifications- Other Name: Cover, Front Bumper; Bumper Cover
- Manufacturer Note: PAINT REQ.
- Position: Front Driver Side
Toyota Front Bumper L/P Cover
Part Number: 52119-0R914$221.55 MSRP: $317.68You Save: $96.13 (31%)Ships in 1-3 Business DaysProduct Specifications- Other Name: Cover, Front Bumper; Bumper Cover
- Manufacturer Note: PAINT REQ.
- Position: Front Driver Side
- Replaces: 52119-4A908
Toyota Cover, Rear Bumper L/P
Part Number: 52159-42930$170.34 MSRP: $242.17You Save: $71.83 (30%)Ships in 1-3 Business DaysProduct Specifications- Other Name: Cover, Rear Bumper
- Manufacturer Note: PAINT REQ.
- Position: Rear Driver Side
- Replaced by: 52159-0R914
Toyota Front Bumper L/C Cover
Part Number: 52119-03907$198.81 MSRP: $285.09You Save: $86.28 (31%)Ships in 1-3 Business DaysProduct Specifications- Other Name: Cover, Front Bumper; Bumper Cover
- Manufacturer Note: PAINT REQ.
- Position: Front Driver Side
Toyota Front Bumper Cover
Part Number: 52119-12998$145.30 MSRP: $206.58You Save: $61.28 (30%)Ships in 1-3 Business DaysProduct Specifications- Other Name: Cover, Fr Bumper L/C; Bumper Cover
- Manufacturer Note: PAINT REQ.
- Position: Front Driver Side
- Replaced by: 52119-F2941
Toyota Cover, Rear Bumper L/C
Part Number: 52159-0X915$240.46 MSRP: $344.80You Save: $104.34 (31%)Ships in 1-3 Business DaysProduct Specifications- Other Name: Cover, Rr Bumper L/C; Bumper Cover
- Position: Rear Driver Side
- Replaces: 52159-33962
Toyota Front Bumper Cover
Part Number: 52119-F2941$145.30 MSRP: $206.58You Save: $61.28 (30%)Ships in 1-3 Business DaysProduct Specifications- Other Name: COVER, FR BUMPER L/C; Bumper Cover
- Manufacturer Note: PAINT REQ.
- Position: Front Driver Side
- Replaces: 52119-12998, 52119-F2921
- Product Specifications
- Other Name: Bumper Cover
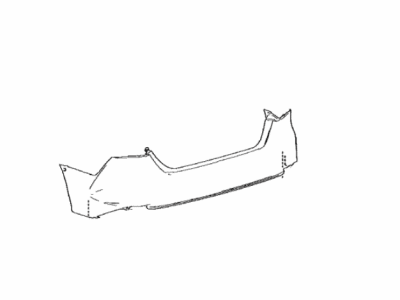
- Position: Rear
Toyota Cover, Rear Bumper L/P
Part Number: 52159-0R914$170.34 MSRP: $242.17You Save: $71.83 (30%)Ships in 1-2 Business DaysProduct Specifications- Other Name: Cover, Rear Bumper; Bumper Cover
- Manufacturer Note: PAINT REQ.
- Position: Rear Driver Side
- Replaces: 52159-42930
| Page 1 of 43 |Next >
1-20 of 856 Results
Toyota Bumper Parts Questions & Experts Answers
- Q: How to remove and install the front and rear bumpers on 2002 through 2006 Toyota Avalon?A:To get at both front bumpers on these cars, Push back the front part of the fenderwell liner, put on the parking brake, lift the car, and set it up on sturdy jackstands. Unplug the negative battery cable from where it connects to the battery. To detach back fog lights on cars equipped with them, remove electrical cables running from lights down to bumper tubes. Lift up the cover and pull apart all screws and pushpins that hold the bumper in place, high and low, on the left, right, and bottom. Pull up on small plastic fasteners with a screwdriver to free their center buttons without taking them apart. Change how you lift up the fascia by getting and unfastening every fastener first. Separate the cover, then have someone help you line up the tabs on the back properly while you fasten the bolts and screws like you would do normally. Crawl beneath the car to take out the plastic clamps and screws that hold the bottom piece of the rear bumper. Slide out the screws holding the front part of the fascia to the fenderwells, and if necessary, detach the plastic liner to work in the back. Lift your car's trunk mat from under it. Work from inside the trunk to release the bumper cover fasteners at each corner, also removing the hidden clips from behind the rear trim panel. Take off the clips or pins holding the top side of the bumper cover in place, pull the cover out from the vehicle, and gently hit any bolts through the car body with a plastic hammer. Installation is the reverse of removal.
- Q: How to remove and install the front and rear bumpers on 2003 through 2009 Toyota 4Runner?A:To replace the front bumper, start by applying the parking brake, lifting the vehicle and supporting it by jack stands. Locate and take off the lower splash shield and the screws or bolts that hold the front part of the inner fender splash shields. Subsequently, the fasteners around the upper part of the bumper cover should be removed, followed by the middle and lower ones. Gently pop the cover outwards and if present, remove the connectors for the fog lights next, in order to release the cover from the car. To reinstall just undo the measures listed above and make sure that the tabs on the back of the bumper cover are locked into the appropriate clips belonging to the body, then, tighten bolts and screws, preferably when being assisted. Regarding the rear bumper, first, it is necessary to uninstall the rear mud flaps and then the upper bolts located at the rear wheelwell that fix the edge panel of the bumper cover. At the bottom, unscrew the fasteners on the lift gate and open it to uncover fasteners on the interior border of the bumper cover. Last, while removing the bumper cover, pull it out and backward, whereas the installation process is in the opposite of the removal process.
- Q: How to remove and install the front and rear bumper covers on 2005 through 2009 Toyota Tacoma?A:To actually get the front bumper cover out, one has to begin by disconnecting the radiator grille. Make sure the parking brake is set; next, lift the car and put it on jackstands. If equipped, remove the electrical connectors for the fog lights. Next, undo the screws located on the bottom part of the bumper cover, then the side and the upper screws. Rearrange the retainer and the bumper on the lower part of each of the fenders and large retainers have a tab that fits into the slot on the bumper cover and remove the cover from the car. Know that some models may have other components, such as bumper extensions, valance, and spoilers which need fastener to be removed so that the bumper cover can be easily pulled off; these can be removed after pulling off the bumper cover. For installation just reverse the process of removal, slide tabs of the bumper cover into corresponding slots of the body and fasten the bumper with the help of fasteners, an assistant is recommended in this process. The following procedure is for the removal of the rear bumper With the car lifted and well supported securely, make sure that any electrical connectors in the way have been disconnected. While another person keeps the bumper pinned on the frame rails, take out the bolts fastening the bumper mounting bracket on the frame rail. If the model has a factory installed trailer hitch, then it should be removed together with the bumper as a single unit. Wiggle the bumper slightly while releasing the mounting bracket pins from the slots in the frame rails as these are the clips which help in removal and fixing. Next comes the installation, which practically is a reversal of the removal process.
Related Toyota Parts
Browse by Model
4Runner Bumper 86 Bumper Avalon Bumper C-HR Bumper Camry Bumper Celica Bumper Corolla Bumper Corolla Cross Bumper Corolla iM Bumper Corona Bumper Cressida Bumper Crown Bumper Echo Bumper FJ Cruiser Bumper GR Corolla Bumper GR Supra Bumper GR86 Bumper Grand Highlander Bumper Highlander Bumper Land Cruiser Bumper MR2 Bumper MR2 Spyder Bumper Matrix Bumper Mirai Bumper Paseo Bumper Pickup Bumper Previa Bumper Prius AWD-e Bumper Prius Bumper Prius C Bumper Prius Prime Bumper Prius V Bumper RAV4 Bumper RAV4 Prime Bumper Sequoia Bumper Sienna Bumper Solara Bumper Starlet Bumper Supra Bumper Tacoma Bumper Tercel Bumper Tundra Bumper Van Bumper Venza Bumper Yaris Bumper Yaris iA Bumper bZ4X Bumper
