
My Garage
My Account
Cart
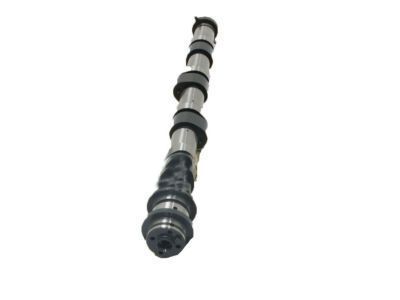
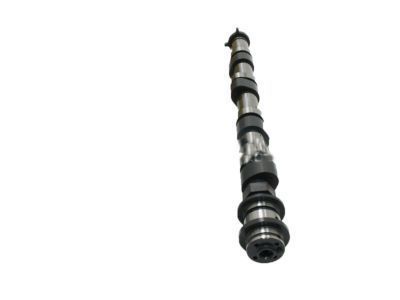
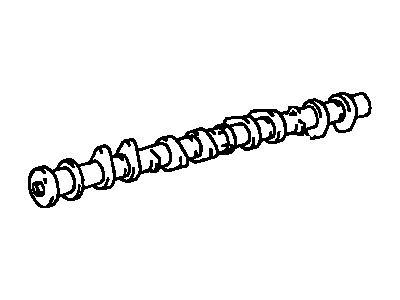
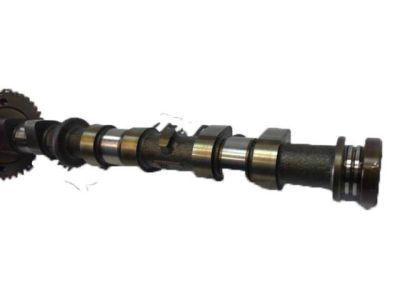
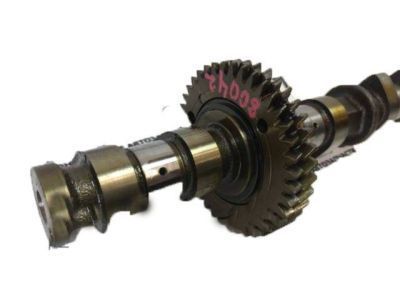
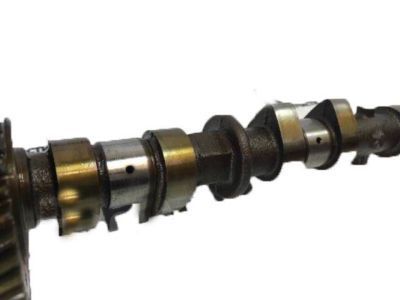
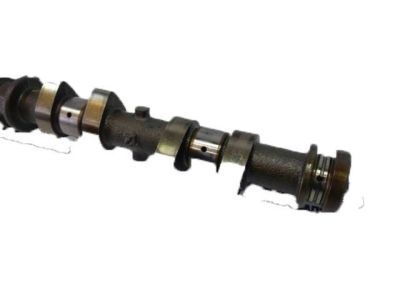
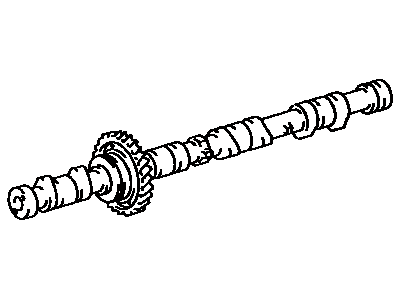
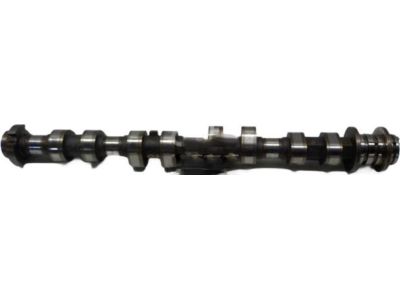
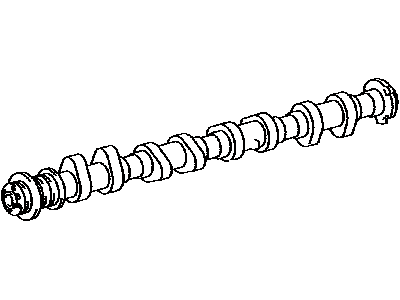
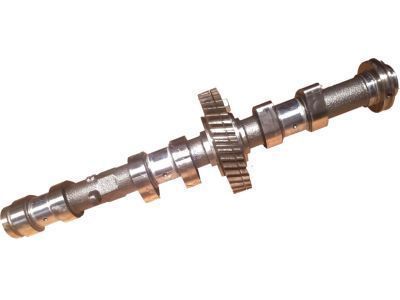
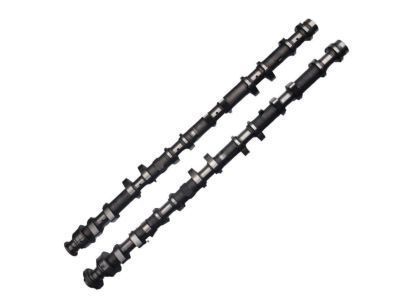
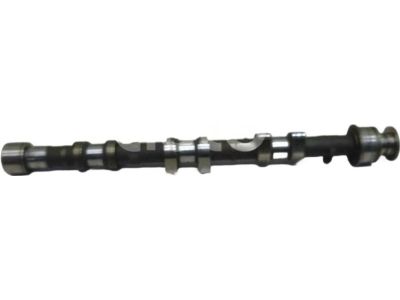
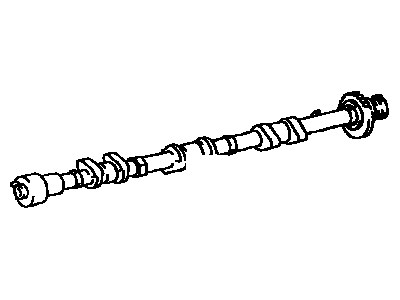
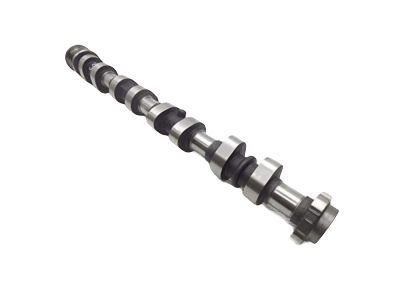
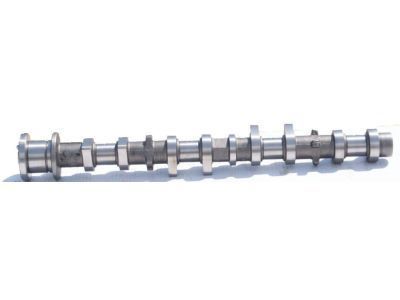
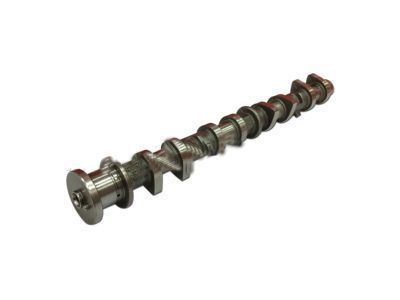
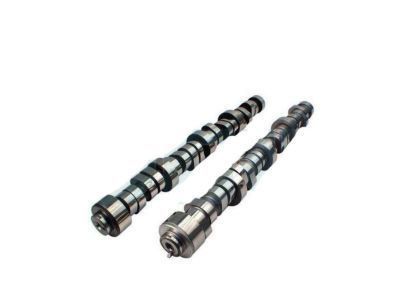
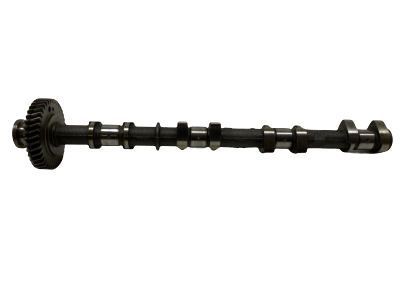
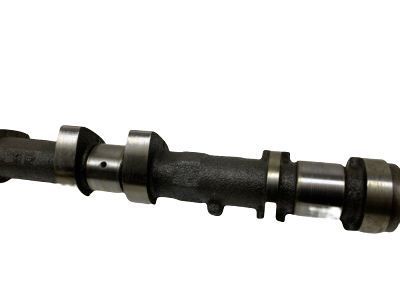
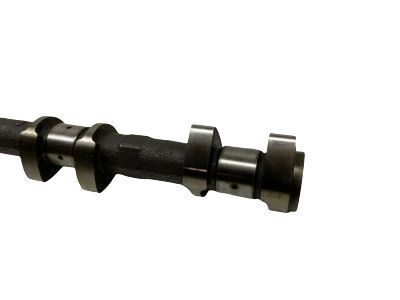
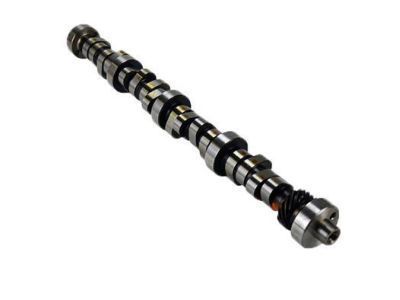
Genuine Toyota Camshaft
Cam- Select Vehicle by Model
- Select Vehicle by VIN
Select Vehicle by Model
orMake
Model
Year
Select Vehicle by VIN
For the most accurate results, select vehicle by your VIN (Vehicle Identification Number).
317 Camshafts found
- Product Specifications
- Manufacturer Note: (J)
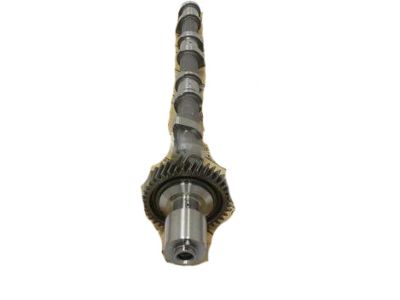
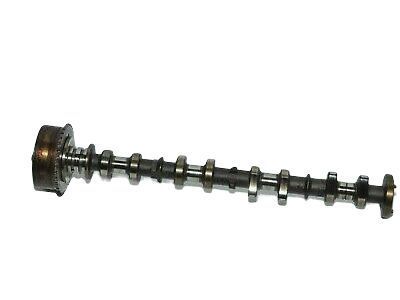
- Replaces: 13501-0F020
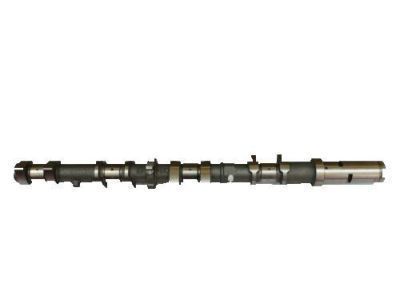
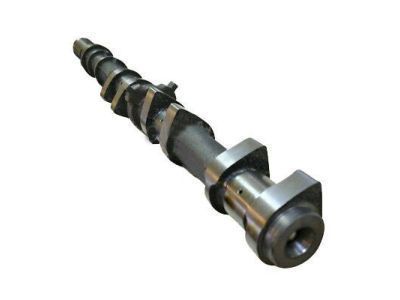
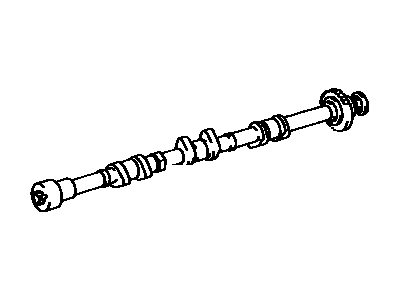
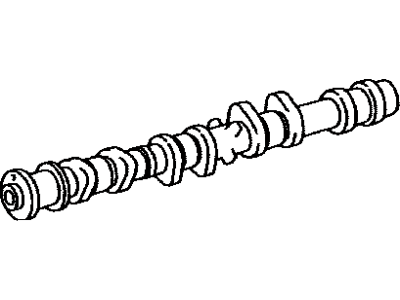
Toyota Camshaft Sub-Assembly
Part Number: 13053-50060$426.70 MSRP: $636.55You Save: $209.85 (33%)Ships in 1 Business DayProduct Specifications- Other Name: Camshaft Sub-Assy, NO.3; Camshaft
- Manufacturer Note: (J)
- Replaces: 13053-0F020
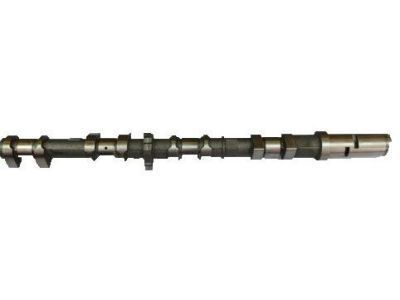
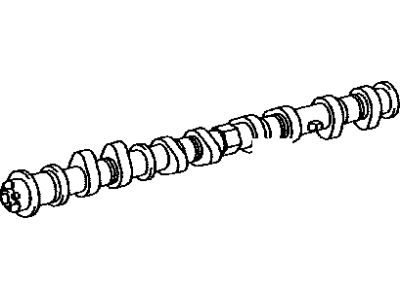
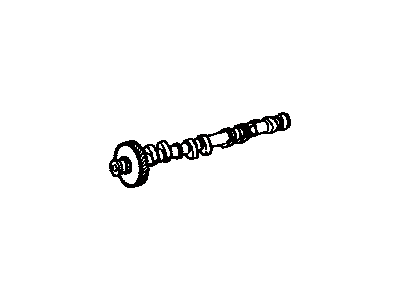
Toyota Camshaft
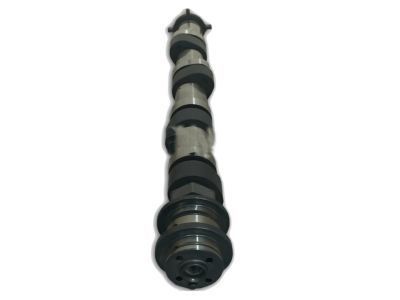
Part Number: 13501-50050$487.47 MSRP: $727.20You Save: $239.73 (33%)Ships in 1-3 Business DaysProduct Specifications- Manufacturer Note: (J)
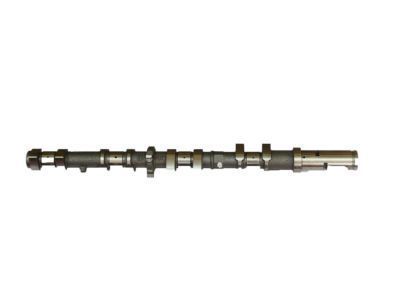
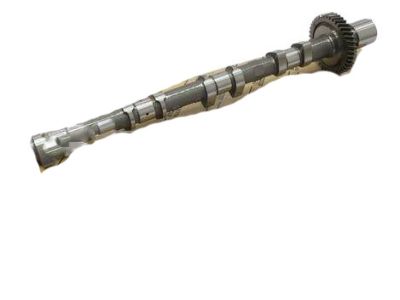
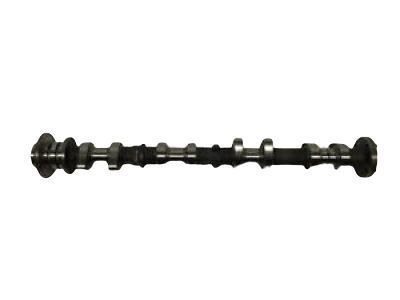
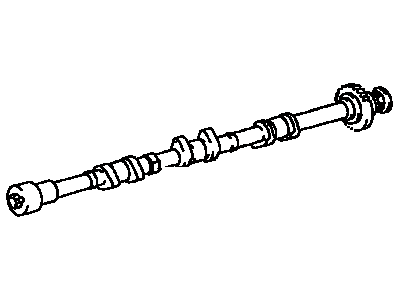
Toyota Camshaft
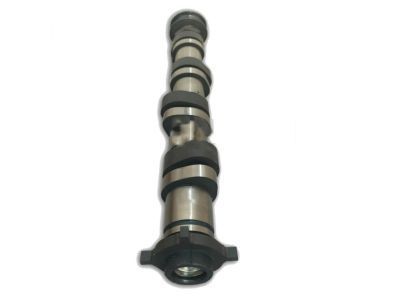
Part Number: 13501-29025$345.86 MSRP: $515.95You Save: $170.09 (33%)Ships in 1-3 Business DaysProduct Specifications- Other Name: Intake Camshaft
- Replaces: 13501-29015
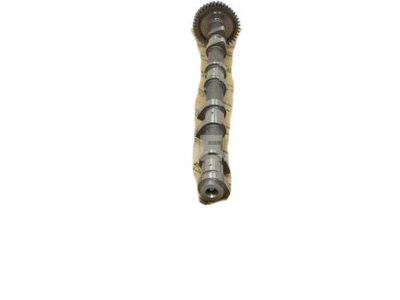
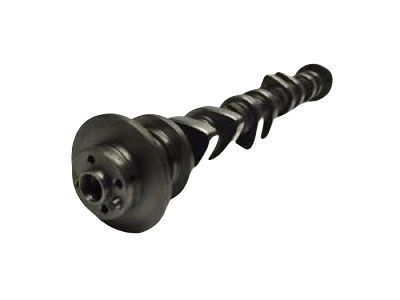
Toyota Camshaft
Part Number: 13502-74030$357.57 MSRP: $533.43You Save: $175.86 (33%)Ships in 1-3 Business DaysProduct Specifications- Other Name: Camshaft, NO.2
- Manufacturer Note: (J)
- Replaces: 13502-03010
Toyota Camshaft
Part Number: 13501-37011$272.01 MSRP: $390.04You Save: $118.03 (31%)Ships in 1-3 Business DaysProduct Specifications- Other Name: Intake Camshaft
- Replaces: 13501-37010, 13501-0T010
Toyota Camshaft Sub-Assembly
Part Number: 13054-62030$231.76 MSRP: $332.32You Save: $100.56 (31%)Ships in 1-3 Business DaysProduct Specifications- Other Name: Camshaft Sub-Assy, NO.4; Camshaft
Toyota Camshaft
Part Number: 13501-66020$614.69 MSRP: $917.83You Save: $303.14 (34%)Ships in 1-3 Business DaysToyota Camshaft
Part Number: 13502-20030$293.12 MSRP: $420.31You Save: $127.19 (31%)Ships in 1-3 Business DaysProduct Specifications- Other Name: Camshaft, NO.2
- Replaces: 13502-0A040
Toyota Camshaft
Part Number: 13502-22011$315.97 MSRP: $453.09You Save: $137.12 (31%)Ships in 1-3 Business DaysProduct Specifications- Other Name: Camshaft, NO.2
- Manufacturer Note: (J)
- Replaces: 13502-0D010, 13502-22010
Toyota Camshaft
Part Number: 13502-50020$350.54 MSRP: $522.94You Save: $172.40 (33%)Ships in 1-3 Business DaysProduct Specifications- Other Name: Camshaft, NO.2
- Manufacturer Note: (J)
- Replaces: 13502-0F020
Toyota N Camshaft Sub-Assembly
Part Number: 13502-F0010$347.99 MSRP: $499.00You Save: $151.01 (31%)Ships in 1-3 Business DaysProduct Specifications- Other Name: CAMSHAFT Sub-Assembly, N; Camshaft
- Replaces: 13502-25010
Toyota Camshaft
Part Number: 13501-31040$537.83 MSRP: $803.06You Save: $265.23 (34%)Ships in 1-3 Business Days- Product Specifications
- Replaces: 13501-0H040, 13501-0H050
Toyota Camshaft
Part Number: 13502-38010$387.90 MSRP: $578.66You Save: $190.76 (33%)Ships in 1-3 Business DaysProduct Specifications- Other Name: Camshaft, NO.2
- Replaces: 13502-0S010
Toyota Camshaft
Part Number: 13502-31010$537.83 MSRP: $803.06You Save: $265.23 (34%)Ships in 1-3 Business DaysProduct Specifications- Other Name: Camshaft, NO.2
Toyota Camshaft
Part Number: 13502-28030$319.80 MSRP: $458.57You Save: $138.77 (31%)Ships in 1-3 Business DaysProduct Specifications- Other Name: Camshaft, NO.2
- Replaces: 13502-0H030, 13502-0H040
Toyota Camshaft Sub-Assembly
Part Number: 13054-31010$537.83 MSRP: $803.06You Save: $265.23 (34%)Ships in 1-3 Business DaysProduct Specifications- Other Name: Camshaft Sub-Assy, NO.4; Camshaft
- Product Specifications
- Other Name: Camshaft Sub-Assy, NO.4; Camshaft
- Replaces: 13054-0A040, 13054-0A041
- Product Specifications
- Other Name: Camshaft, NO.2
- Manufacturer Note: W(MARK)
- Replaces: 13502-0C010
| Page 1 of 16 |Next >
1-20 of 317 Results
Toyota Camshaft Parts Questions & Experts Answers
- Q: How to remove and install the camshafts in the cylinder heads in V8 engine on 2003 through 2009 Toyota 4Runner?A:Before beginning this procedure, obtain two 6 x 1.0 mm bolts 16 to 20 mm long. Start by removing the valve covers and measuring the valve clearances, then remove the timing belt. If cylinder head work involving the valves is to be done, do not measure the valve clearances at this time; otherwise, measure them now to calculate replacement shim thicknesses, minimizing the chances of needing to remove the camshafts later due to incorrect clearances. Ensure the crankshaft is positioned 45 to 50 degrees counterclockwise from the TDC position. Next, remove the cam sprockets and the camshaft position sensor. For the removal of the camshafts on each cylinder head, begin with the right bank cylinder head by securing the exhaust camshaft sub-gear to the driven gear with a service bolt, aligning the marks on the gears and turning the camshafts until the marks are approximately 10 degrees from their original position. Align the cam timing marks on the drive and driven gears at an upward 10-degree angle for the right side cylinder head only. Loosen the camshaft bearing cap bolts in 1/4-turn increments until they can be removed by hand, following the reverse of the recommended lightening sequence. Remove the bearing caps and gently lift out the oil feed pipe and the camshafts, ensuring to keep the oil feed pipe level. Mark each camshaft cap bolt carefully to avoid reassembly problems, and hold the camshafts level during removal to prevent damage to the cylinder head. Repeat the removal process for the left bank cylinder head, ensuring to align the camshaft timing gears without setting them at a 10-degree angle. Store the bearing caps in the correct order and mark each bolt carefully. If necessary, the valve lifters and shims can now be removed with a magnetic tool and stored separately. For 2005 and later models, mount the intake camshaft in a vise, remove the screw plug and sealing washer, then unscrew the hex bolt underneath to remove the timing tube assembly. The drive gear that turns the exhaust camshaft can be removed from the timing tube assembly by holding it with a pin spanner and unscrewing the four bolts. To disassemble an exhaust camshaft gear, mount the cam in a vise and use a pin spanner to rotate the sub-gear clockwise, removing the service bolt and the sub-gear snap-ring. The wave washer, sub-gear, and camshaft gear spring can now be removed from the camshaft. For inspection procedures, use the specifications provided. Insert new camshaft plugs into the cylinder head and apply a small amount of RTV sealant to the grooves. For 2005 and later models, install a new oil seal, mate the drive gear to the timing tube, and install the four bolts, tightening them to the specified torque. Reassemble the exhaust camshaft gear by installing the camshaft gear spring, sub-gear, wave washer, and snap-ring, then mount the camshaft in a padded vise and align the holes of the camshaft driven gear and sub-gear. Apply moly-base grease or engine assembly lube to the lifters and install them in their original locations, ensuring the valve adjustment shims are in place. Apply moly-base grease or engine assembly lube to the camshaft lobes, bearing journals, and gear thrust faces, then set the intake and exhaust camshafts in place with the timing marks at a 10-degree angle for the right bank and aligned for the left bank. Apply a bead of RTV sealant to the edges of the front bearing cap mating surfaces, install the bearing caps in numerical order with arrows pointing toward the front of the engine, and tighten the bearing cap bolts in 1/4-turn increments to the specified torque. Remove the service bolt from the exhaust cam gear and install a new camshaft oil seal for both cylinder heads. Reinstall the timing belt, check the valve clearances, and reinstall the remaining components in reverse order of removal. Before reinstalling the valve covers, use RTV sealant in the indicated areas, then refill the cooling system and run the engine, checking for leaks and proper operation.
- Q: How to remove and install camshafts in Four cylinder engine on Toyota Highlander?A:Camshafts should be visually checked before their installation and camshaft end play should be determined before camshaft removal. To perform this process start by removing the cable that is connected to negative terminal of the battery and remove also the valve cover. Align the engine of the piston at the Top Dead Center on the compression stroke for the number 1 cylinder and apply a drop of paint on the links of timing chain touching the timing marks of the camshaft sprockets. Before loosening the sprocket bolts, the first step to follow is to use a wrench to hold the camshafts from turning; also, the hex-shaped lug on the camshaft has to be held from turning as well, before turning the camshaft sprocket bolts several turns counter-clockwise. For the models of 1999 to 2007, take off the timing chain tensioner from the timing chain cover and the camshaft position sensor from the cylinder head. Once again, for the 2008 and later models, twist the timing chain cover and tensioner screws in a counter clockwise direction to take out the chain cover and tensioner. Both the crankshaft sprocket and the camshaft sprockets bolts are to be withdrawn, the timing chain disconnected from such sprockets and the sprockets themselves to be separated from the engine clean; in doing so, the Variable Valve Timing (VVT) actuator will be identified. On the models of 1999-2007 while being engaged in the timing chain replacement, move the chain aside and stuff some cloth in the hole on the timing chain cover to prevent debris from falling directly onto the engine. Check the camshaft bearing caps and identify their orientation by matching the number on them and the cylinder head, slightly loosen in the reverse of the lightening order, remove the bearing caps and take out the camshaft(s), labeling as 'Intake' or 'Exhaust'. Another freeze the lifters on the cylinder head and remove them, arranged in order, and inspect the camshaft, Camshaft bearing and the lifter for any sign of wear Starting with the 2008 model year or later, the camshaft housing bearing cap bolts are loosened in the sequence shown in the illustration, and the camshaft housing and these camshaft bearing caps, oil control filter, and camshafts are removed. Check the camshafts for wear and when carrying the check also consider checking the camshaft bearings, camshaft housing, the rockers, and the lash adjusters. This must be done before the camshafts are pulled: camshaft endplay is measured with a dial gauge and the camshaft bearing surfaces are inspected for wear. Check the outer diameter of each camshaft bearing journal and the inner diameter of each corresponding camshaft bearing to get oil clearance. Check the height from the camshaft to each lobe and measure the amount of camshaft run out. Check the lifters for wear and to obtain the outside diameter to ascertain the quantities of oil clearance. For installation on models from 1999 to 2007, which were sent without No.1 journal bearings, place them on the cylinder head, apply camshaft installation lubricant on the camshaft lifters and journals before installing camshaft. Screw the bearing caps and bolts in and fasten them and mesh the teeth of camshaft sprocket with the links of timing chain such that the marks match. Finally fit the remainers of the timing chain and reassemble in the reverse order for 2008 and later models put oil on the rocker arms and the lash adjusters to also ensure that the dowel pins are in the right place. Coat the camshaft housing to cylinder head contact surface with seal packing, set camshaft housing in position and fasten screws properly while tightening the bolts, after which operation of the engine should not be carried out for at least 4 hours to avoid leakage of seal packing. Last step of the installation is the camshaft sprockets, the timing chain, and last but not the least the timing chain cover.
- Q: How to remove and install camshafts in V6 engine on 2005 through 2009 Toyota Tacoma?A:The process of its removal is not very basic, that is why it is recommended to read it several times before the procedure. The steps to follow include first pulling off the cable that is connected to the negative terminal of the batter and secondly, siphon out the oil and coolant of the engine. Take off the timing chains and to extract the camshafts from the right cylinder head, they should be turned anti clockwise until; the outer edge of the intake cam lobe for the No. 1 cylinder should align to the 7 o'clock position and the outer edge of the exhaust cam lobe stand at the 12 o'clock position. Slowly cast off all the 16 camshaft bearing cap bolts in the same fashion followed by the removal of the camshafts as well as the bearing caps where the camshafts were situated, but before discarding them they were arranged in order and the caps labeled. With the help of a magnet, pull off the lifters and return all of them to the box, and be sure to properly label each one. With reference to the above procedure, if removing camshafts from the other cylinder head, perform the above mentioned step but the rotation shall be done on the right cylinder only. In addition, when the timing chains and camshafts are out, do not rotate the crankshaft. Look at each lifter for signs of wear, look at the cam lobes and bearing journals to determine if there is any damage and check the height of each camshaft lobe and the diameter of each journal with micrometer if they do not meet manufacture's specifications then they should be replaced. With the engine turned off, on the bench check the oil clearance for each camshaft journal using Plastigage, also clean the bearing caps and journals before laying the camshaft in place for this, do not add any lubrication. Following the above, apply clean engine oil on the lifters and then with the help of gasket and bearing caps, place the camshafts on the right cylinder head as appropriate with the proper orientation and tightening them in a gradual fashion with a sequence keenly observed. Knead with the correct orientation of the cam lobes the same as the right cylinder head and again lubricate and place the left cylinder head too. The rest of the installation is done in the reverse order to the removal including the timing chain and cover. Always after installation the crankshaft should manually and smoothly be turned through at least two revolutions with more utilization of energy which can show that there is a problem. Last, add Some oil and coolant, reconnect the battery and start the engine and check for leaks Lifter clatter may take a min of 5 to subside.
Related Toyota Parts
Browse by Model
4Runner Camshaft 86 Camshaft Avalon Camshaft Camry Camshaft Celica Camshaft Corolla Camshaft Corolla Cross Camshaft Corona Camshaft Cressida Camshaft Crown Camshaft Echo Camshaft FJ Cruiser Camshaft GR Corolla Camshaft GR Supra Camshaft GR86 Camshaft Grand Highlander Camshaft Highlander Camshaft Land Cruiser Camshaft MR2 Camshaft MR2 Spyder Camshaft Matrix Camshaft Paseo Camshaft Pickup Camshaft Previa Camshaft Prius AWD-e Camshaft Prius C Camshaft Prius Camshaft Prius Prime Camshaft Prius V Camshaft RAV4 Camshaft RAV4 Prime Camshaft Sequoia Camshaft Sienna Camshaft Solara Camshaft Starlet Camshaft Supra Camshaft T100 Camshaft Tacoma Camshaft Tercel Camshaft Tundra Camshaft Van Camshaft Venza Camshaft Yaris Camshaft Yaris iA Camshaft
